What Is Project Closure: Guide, Steps, Best Practices,Tools

Project closure is the final phase that ensures work is complete, yet many companies struggle to finish it properly.
Without structured closure, project management loses accountability, and clients question delivery at the very end. This guide shows you how to finish projects cleanly with steps, best practices, and templates using the best PM software and project management platforms.
Key Takeaways
- The project closure stage starts when the project deliverables are accepted and logged, with signed approval and supporting evidence stored in a central project repository for audit and future reference.
- Client sign-off is secured using a structured acceptance checklist, ensuring mutual agreement and reducing the risk of delayed payments or project scope disputes.
- Lessons learned are collected in a formal session, converted into actionable items, assigned to team leads, and tracked in your project management system.
- Knowledge is transferred using automated workflows to distribute runbooks, revoke access, and log handover packs. The goal is smooth support and zero information loss.
What Is Project Closure?
Project closure is the phase in the project lifecycle that confirms all work is complete and accepted. Companies need it because billing, scope, and client trust all depend on structured closure.
You close projects by securing acceptance, reconciling finances, archiving documentation, and completing knowledge transfer. For example, a software project that followed closure steps avoided disputes over unpaid invoices and project scope gaps.
We talk more about other phases of managing projects in our project management process groups guide.
What Are The Components of Project Closure?
The components of project closure are deliverable acceptance and client sign-off, creation of the final project report, financial and administrative closure, archiving of project documentation, lessons learned sessions, structured knowledge transfer, release of resources and permissions, and a short post-project review.

1. Deliverable acceptance and client sign-off
This step confirms the client agrees that all promised project deliverables meet the agreed criteria. It matters because without a sign-off, disputes and unpaid invoices follow. Include a signed project closure checklist and an approval date.
Evidence to collect:
Signed acceptance form, client approver record. Maintained by PM, stored in the central repository. Outcome: clear client approval.
2. Final project report
The final report summarizes project objectives, performance, costs, and outcomes. It matters because it provides a reference for stakeholders and auditors. Include scope summary, budget results, and timeline analysis. Use reporting tools to help you out with this component.
Evidence to collect:
Final report PDF, approved by PM and finance, stored in document archive. Outcome: official closure record.
3. Financial and administrative closure
This covers reconciling costs, settling invoices, and closing contracts. It matters because leaving open obligations creates risk. Include invoices, expense reports, and vendor contracts.
Evidence to collect:
Closed invoice set, signed contract closure notices. Maintained by finance, stored in the accounting system. Outcome: no financial liabilities remain.
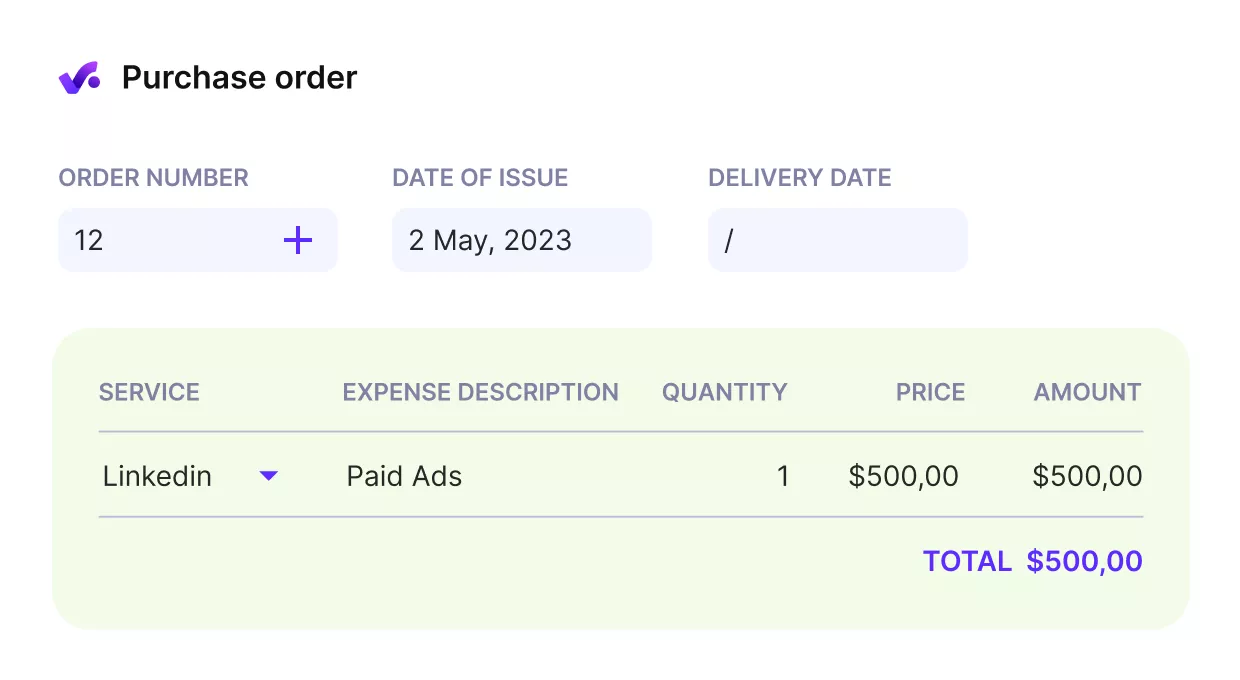
Generate purchase order costs and add them to your closing administration.
4. Archiving project documentation
Archiving ensures all documents are accessible after closure. It matters because missing records create gaps in audits and lessons. Include contracts, reports, designs, and approvals.
Evidence to collect:
Archive index and repository link. Maintained by PM/IT, stored in the document system. Outcome: searchable project record.
5. Lessons learned session
A lessons learned session reviews what worked and what failed. It matters because teams improve only if they capture knowledge. Include meeting notes, action items, and assigned owners.
Evidence to collect:
Lessons log and action register. Maintained by PM, stored in the knowledge base. Outcome: actions assigned and tracked.
6. Knowledge transfer
Knowledge transfer hands critical knowledge to operations or support teams. It matters because without it, clients face service gaps. Include runbooks, training sessions, and known issues lists.
In case you need more context, there’s a dedicated knowledge management guide with actionable advice, a step-by-step process, and best practices.
Evidence to collect:
Handover pack, training completion log. Maintained by Tech Lead, stored in the support portal. Outcome: operations can run independently.
7. Resource release and permissions offboarding
This step releases people from the project and revokes system access. It matters because delays cause cost overruns and security issues. Include resource release forms and access logs.
Evidence to collect:
Resource release record, offboarding log. Maintained by PM/IT, stored in HR and IT systems. Outcome: resources reallocated, systems secured.
8. Post-project review
A short review checks performance after closure. It matters because it reveals hidden risks and validates outcomes. Include client feedback, KPI tracking, and any pending support issues.
Evidence to collect:
Review agenda, summary notes, and client survey. Maintained by PM/Account Lead, stored in CRM or knowledge base. Outcome: insights captured and follow-ups scheduled.
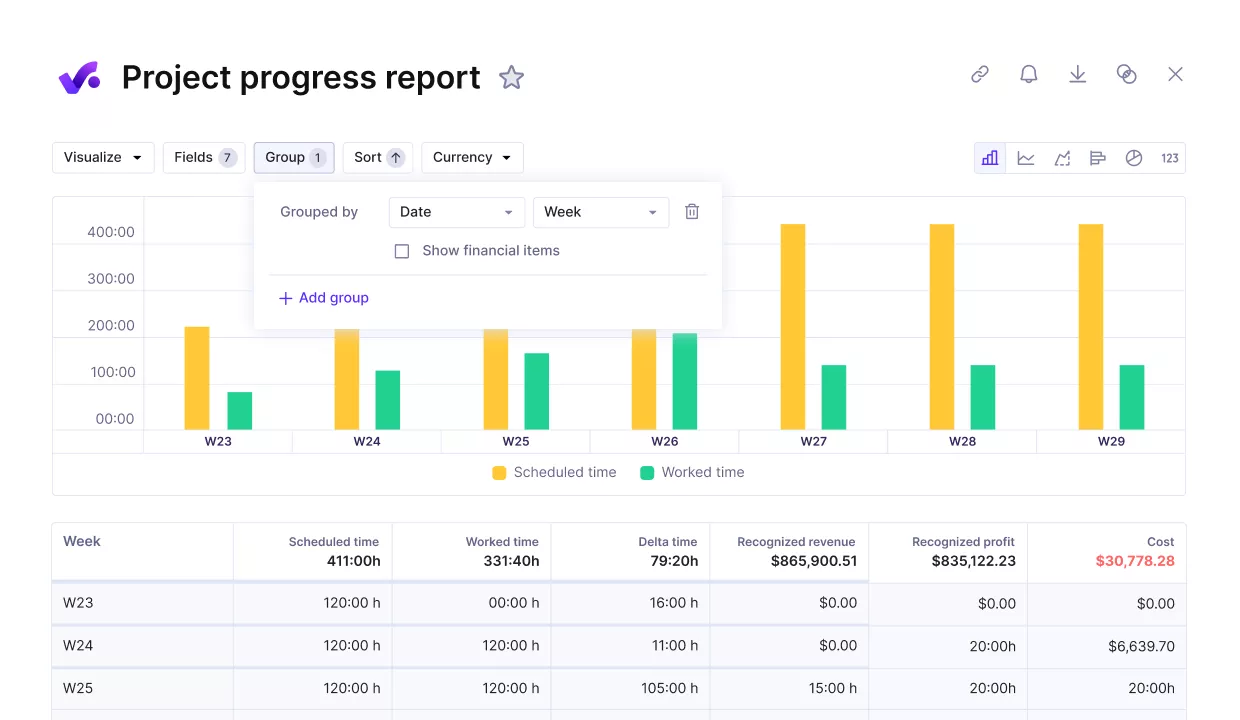
Use Productive to generate detailed reports on tasks, timelines, or finances.
Project Closure Step-by-Step Process
You close the project closure phase by moving through a clear sequence that ties Delivery to sign‑off and learning. First, the project manager checks that all scope items are finished and logs completion. Next, the client reviews results and provides formal approval.
Finance reconciles time and costs so invoices can be closed, while procurement settles vendor contracts. The team then runs a lessons learned workshop, archives all documentation, and transfers knowledge to operations.
Finally, people are released, system access is revoked, and a follow‑up review is scheduled. This flow ensures no task is skipped and every outcome is documented.
| Step | What is done | Owner | Outcome |
|---|---|---|---|
| 1. Verify scope completion | Check all scope items are finished and log results | Project Manager | Deliverables accepted and recorded |
| 2. Client review and sign-off | Present work to client and collect approval | PM + Client | Approval documented |
| 3. Reconcile budget and time | Confirm hours and costs, issue final invoice | PM/Finance | Invoice closed and reconciled |
| 4. Close contracts and vendors | Finalize vendor agreements and settle obligations | PM/Procurement | Contracts closed, no obligations left |
| 5. Lessons learned workshop | Hold a session to capture improvements | Project Manager | Actions logged and assigned |
| 6. Archive documentation | Store reports, contracts, and designs in archive | PM/IT | Records searchable and complete |
| 7. Transfer knowledge to operations | Provide runbooks, training, and known issues | Tech Lead | Handover complete |
| 8. Release project resources and revoke access | Free team members and remove system access | PM/IT | Resources reallocated, systems secured |
| 9. Schedule post-go-live review | Plan follow-up meeting with client | PM + Account Lead | Review scheduled and documented |
RACI matrix and artifacts table
A RACI matrix is a tool that clarifies roles by showing who is Responsible, Accountable, Consulted, and Informed for each task. Using it in project closure avoids confusion by defining exactly who does what and when approvals happen.
It ensures accountability by showing who is responsible, accountable, consulted, and informed. It also makes approval paths visible, so no task is delayed waiting for sign-off.
To use the matrix, list every closure step, assign the right owner and approver, and attach the artifact, storage location, and due date. Review it with the team at the start of closure, then track completion until all outcomes are achieved.
Below is an example table that links each step with its action, owner, approver, artifact, storage, due date, and outcome.
| Step | Action | Owner | Approver | Artifact | Storage | Due-by | Outcome |
|---|---|---|---|---|---|---|---|
| 1 | Verify scope completion | PM | Client | Completion log | Project folder | Delivery complete date | Deliverables accepted |
| 2 | Client review and sign-off | PM | Client | Signed acceptance | Repository | Approval date | Formal sign-off |
| 3 | Reconcile budget and time | Finance | PM | Final invoice | Finance system | Invoice due date | Accounts closed |
| 4 | Close contracts and vendors | PM/Procurement | Finance | Closure note | Contract archive | Contract end date | Contracts cleared |
| 5 | Lessons learned workshop | PM | Account Lead | Action log | Knowledge base | Workshop date | Actions assigned |
| 6 | Archive documentation | PM/IT | PM | Archive index | Document system | Closure date | Records searchable |
| 7 | Transfer knowledge | Tech Lead | Support Lead | Handover pack | Support portal | Handover date | Team enabled |
| 8 | Release resources & revoke access | PM/IT | PM | Offboarding log | HR + IT systems | Release date | Resources reallocated |
| 9 | Schedule post-go-live review | PM + Account Lead | Client | Review agenda | CRM | Scheduled date | Review set |
Closure timeline and checkpoints
Closure timeline and checkpoints are key milestones that help teams track and complete the closing process with confidence.
The first checkpoint is Delivery complete. This confirms all tasks have been finished, deliverables are ready, and the team is ready to move into acceptance.
The second checkpoint is Acceptance received. This happens once the client or internal stakeholder has formally approved the work. It signals that expectations have been met and billing can proceed.
The third checkpoint, Archive + Handover finished. It includes storing all relevant documentation and transferring knowledge to whoever takes over (support, operations, or the client).
To measure closure progress, track:
- Closure cycle time: Days from Delivery complete to final checklist signed off
- Acceptance lead time: Days from Delivery to formal client sign-off
- Documentation completeness: % of project artifacts archived and confirmed accessible
Start, execute, and close projects with Productive.
What Are the Common Closure Mistakes? (+ How To Fix Them)
The common closure mistakes are closing contracts before acceptance, archiving without sign-off, and revoking access before handover. These errors happen often and create rework, hidden risks, and support gaps.
Below, we’ll show how each mistake looks in practice and how to fix it.
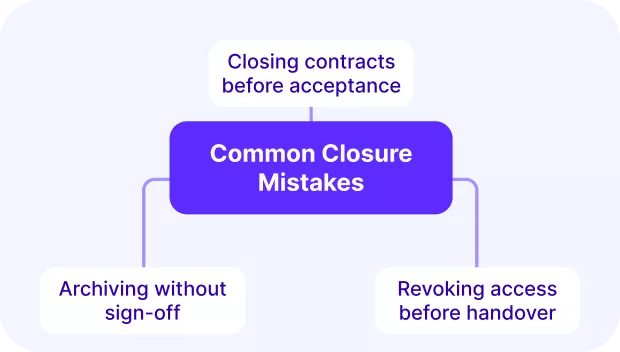
Mistake 1: Closing contracts before acceptance
Closing vendor contracts before the client signs off on deliverables is risky. If the client later rejects part of the work, there’s no easy way to go back to vendors for corrections.
This often results in unplanned costs, legal tension, or scope disputes (especially if there was scope creep).
How to fix it:
Build your contract closeout process around the client’s sign-off milestone. Add a checklist item that explicitly blocks procurement actions until acceptance is received.
Confirm this in the RACI matrix and closure checklist.
Mistake 2: Archiving without sign-off
Archiving project documents before formal acceptance creates a false sense of completion. If changes are still required, teams may work off outdated versions or miss critical fixes.
It also creates problems during audits when final approvals are missing from records.
How to fix it:
Make client sign-off a required field in your document archiving process. Use version-controlled storage that blocks archiving folders until a signed acceptance form is uploaded.
Mistake 3: Revoking access before handover
Revoking access before completing knowledge transfer cuts off teams from critical documentation, task context, and system access they still need to support the client effectively.
Without access to documentation, task history, or known issues, the support team is left unprepared to manage post-launch issues. This slows down resolution time and increases the risk of client dissatisfaction.
How to fix it:
Only offboard users after the knowledge transfer session is complete and the handover checklist is signed. Add a “handover done” flag in your access management workflow and use automated alerts to prevent early deactivation.
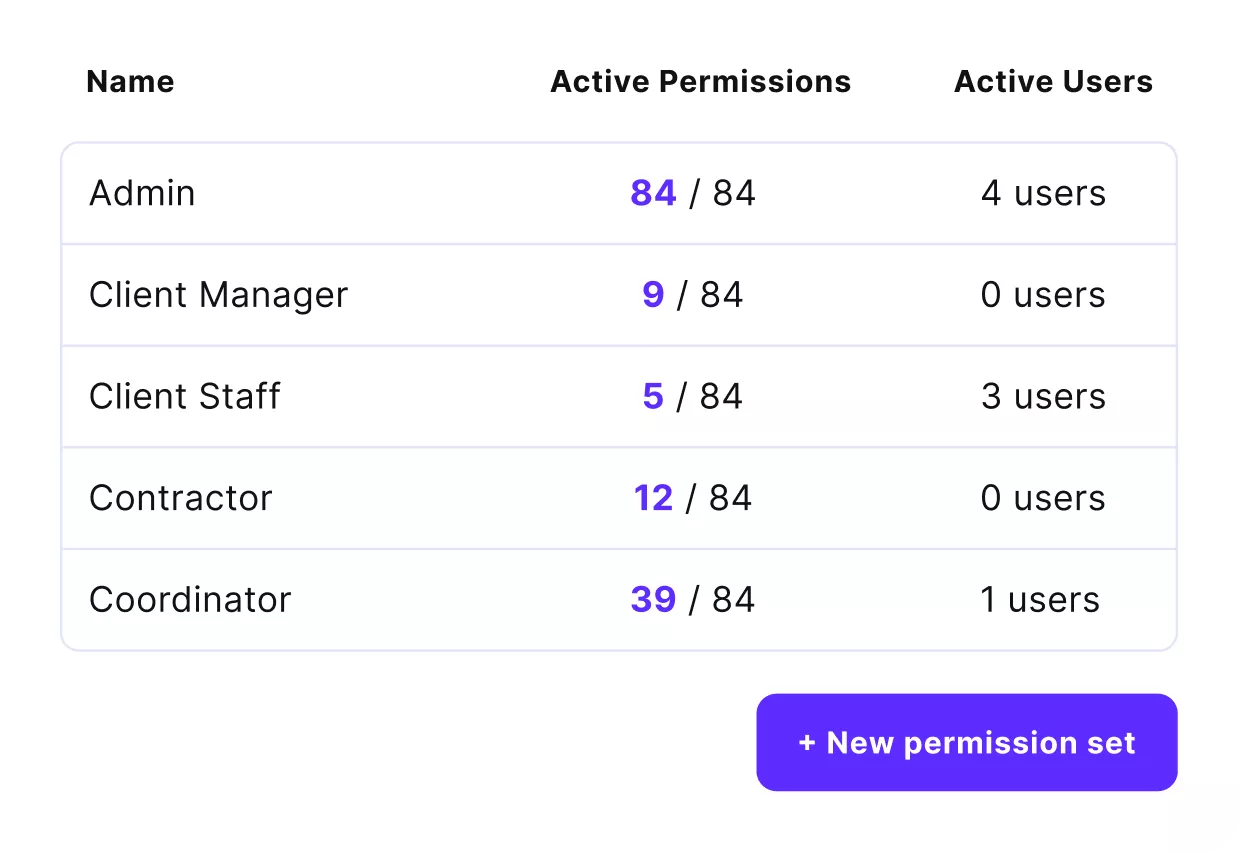
Define all permissions and revoke access post-closing in your work management space.
What Are the Best Practices For Project Closure? (+ How To Implement Them)
The best practices for project closure are: define exit criteria early, run a lessons learned session, complete knowledge transfer, secure acceptance before financial close, and use a documented checklist.
These practices turn closure from a one-off scramble into a repeatable habit. When applied consistently, they reduce disputes, protect project objectives, and ensure every phase ends with a clean handover of resources.
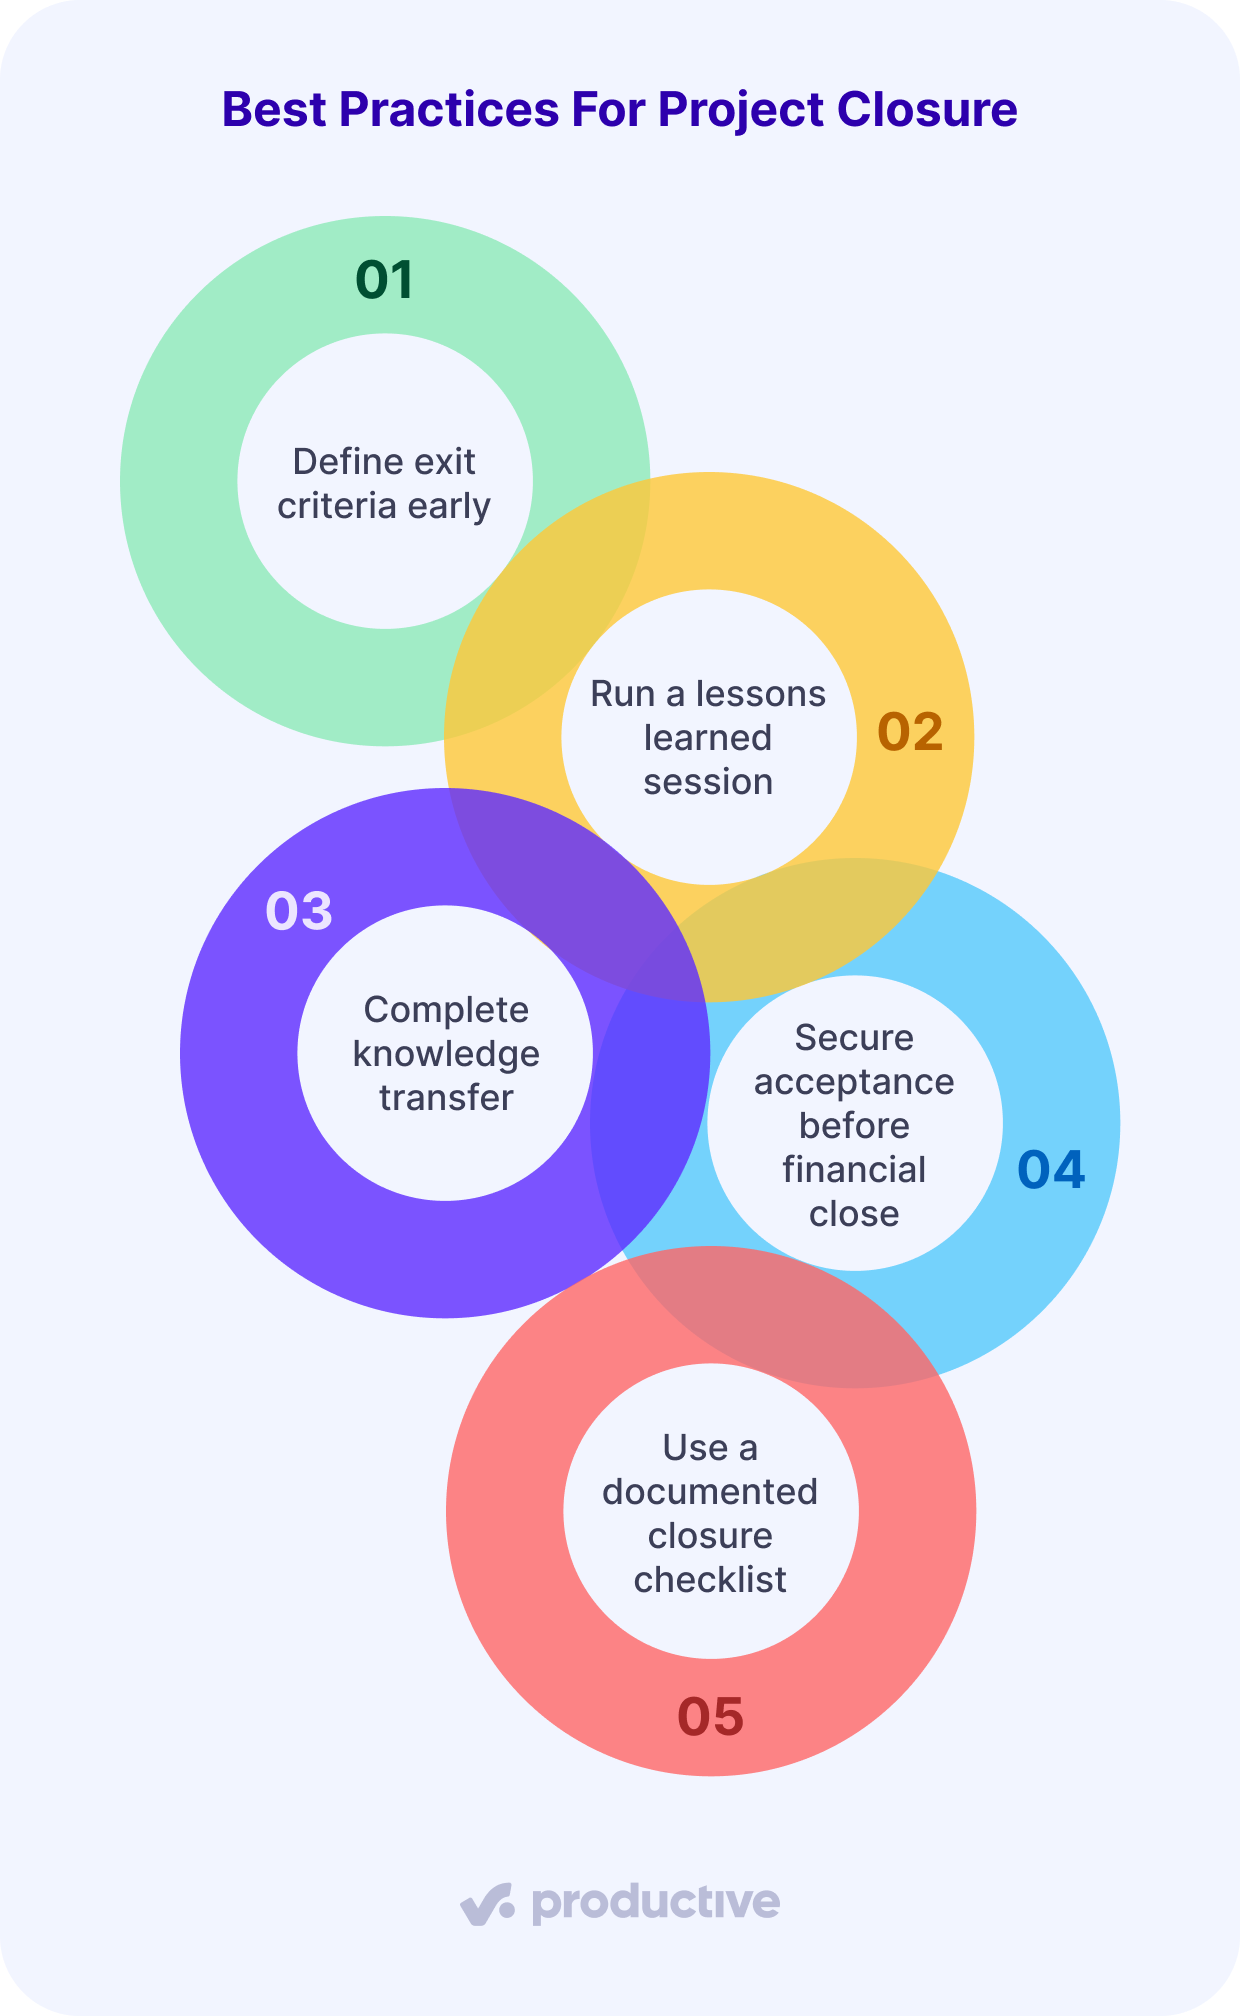
Best Practice 1: Define exit criteria early
Ambiguous closure conditions create confusion, missed approvals, and disputes at the end of the project. Defining them early sets a shared understanding of what “done” looks like across delivery, quality, and client expectations.
How to implement:
Tie each deliverable to a closure condition like a signed acceptance form, a final report, or completed checklist items in your project management tool.
You can configure these tools to show a project as ready for closure only when all linked tasks and approvals are complete. Review closure criteria during the planning phase, store them in your PM software, and confirm alignment with the client before work begins.
Best Practice 2: Run a lessons learned session
Lessons learned capture insights that prevent repeated mistakes and help project teams deliver better outcomes over time.
How to implement:
Schedule a 60-minute debrief in the last week of the project. Invite the delivery team, project manager, and account or client lead.
Use your project management tool to get hard data on what went well (e.g., completed tasks in time), what didn’t (e.g., some deliverables had to be re-done due to a lack of quality), and what to change (e.g., the team leads should have offered more training to the staff ).
Log each point with an owner, action, and due date. Review this log before starting your next project.
Store and edit the lessons learned and all other documentation in Productive.
Best Practice 3: Complete knowledge transfer
When knowledge stays with the project team, support and operations are forced to improvise without context. This slows down incident response, delays onboarding, and undermines the value of the work delivered.
How to implement:
Build a handover pack that includes SOPs, runbooks, workflows, stakeholder contacts, and a known issues list. Use your project management tool (or a platform like Productive) to store and track these documents.
Assign a knowledge transfer owner and schedule a walkthrough with the receiving team. Log open questions and confirm completion before removing access or reassigning team members.
Add knowledge transfers as tasks with detailed descriptions, attached files, and checklists.
Best Practice 4: Secure acceptance before financial close
Closing out invoices before the client approves deliverables can create legal and financial risk. If disputes arise, you’ll lack proof that the client agreed to the final scope.
How to implement:
Tie your invoicing process to a formal client sign-off using a documented acceptance checklist. Store the signed form in your project management system, then configure invoice approvals to trigger only when that file is uploaded.
In Productive, you can connect the final task or milestone to financial permissions, ensuring billing only moves forward once approval is locked.
Map out the acceptance workflows in Productive.
Best Practice 5: Use a documented closure checklist
Relying on informal tools like Slack threads or mental notes leads to missed handoffs, delayed reviews, and incomplete documentation. A structured checklist makes closure consistent across projects.
How to implement:
Build a closure checklist that covers every required area: final deliverables, client acceptance, documentation, financials, and offboarding. In Productive or your PM tool, set it as a required step before marking a project closed.
Assign checklist ownership to the PM and review completion in your closure meeting.
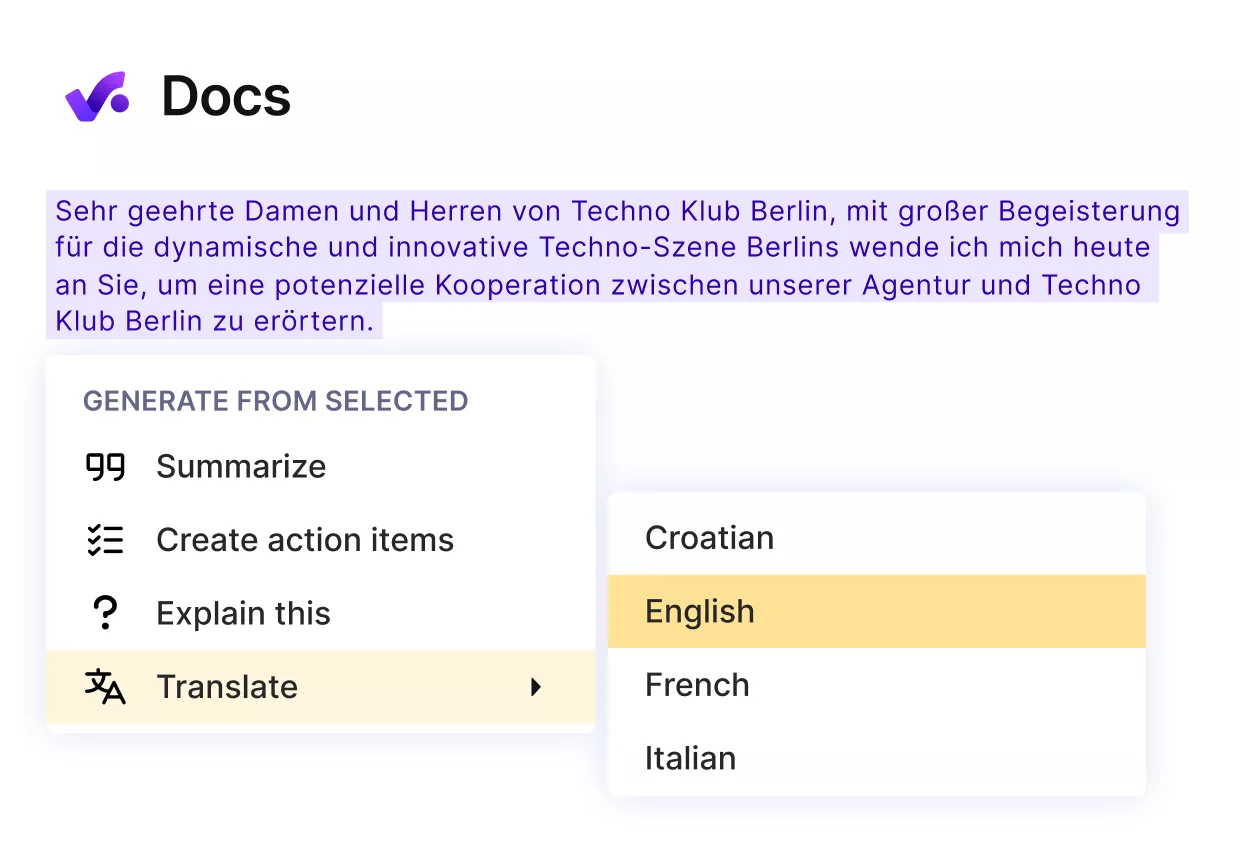
Use Productive’s AI to summarize, translate, or create checklist form texts.
How Do You Handle Gray Areas in Closure Criteria?
Gray areas in the project closure phase are unresolved criteria that delay approval and trigger disputes. They often appear in the closing phase when deliverables don’t fully match what the client expects.
This happens when the client acceptance terms are vague, the scope boundaries are unclear, or the exit criteria were never finalized. These gaps lead to rework, billing delays, and arguments about whether the project can end.
To prevent this, define closure rules in advance using a closure criteria matrix. The matrix lists each deliverable, test conditions, and the decision owner. It removes ambiguity by showing what counts as done, what needs client sign-off, and who decides on edge cases.
Here’s an example closure criteria matrix you can adapt to your projects:
| Deliverable | Acceptance Criteria | Test/Check Method | Decision Owner | Status |
|---|---|---|---|---|
| Website Frontend | Matches approved design, responsive layout | Visual QA checklist | QA Lead | Pass |
| Backend API | All endpoints return valid data | Postman test suite | Dev Lead | Pass |
| Admin Panel | Role-based access, no permission errors | User acceptance test | QA Lead | Pending |
| Analytics Dashboard | Pulls correct data from all tracked events | Data validation script | PM | Pass |
| Final Documentation Pack | Includes all deliverables and user manuals | Doc checklist | Client | Pass |
| Bug #248 Fix | Fix delivered, confirmed not blocking | Re-test + client check | Client | Disputed |
How To Make a Closure Criteria Matrix?
To create your own matrix, start by listing each deliverable that needs client approval. Next, write a clear acceptance criterion for each one (what does “done” look like). Then pick a test method that confirms whether that criterion is met.
Assign a decision owner who will validate the result, and leave room to track status (e.g., pass, pending, disputed). Add notes to flag any risks or clarify feedback.
This structure keeps closure decisions grounded in facts, not opinions. When the client flags something, you already know who owns the call. And if there’s no agreement, use the checklist and escalation path you defined earlier.
What Tools Support Project Closing?
The tools that support project closure are project management software, report generators, document management systems, and time/budget reconciliation tools. These help teams track tasks, avoid missed handoffs, and automate what often gets forgotten at the end.
Teams often try to manage closure using a mix of static templates, shared folders, and manual checklists. But this approach creates blind spots (like unclear ownership, outdated files, or missing steps).
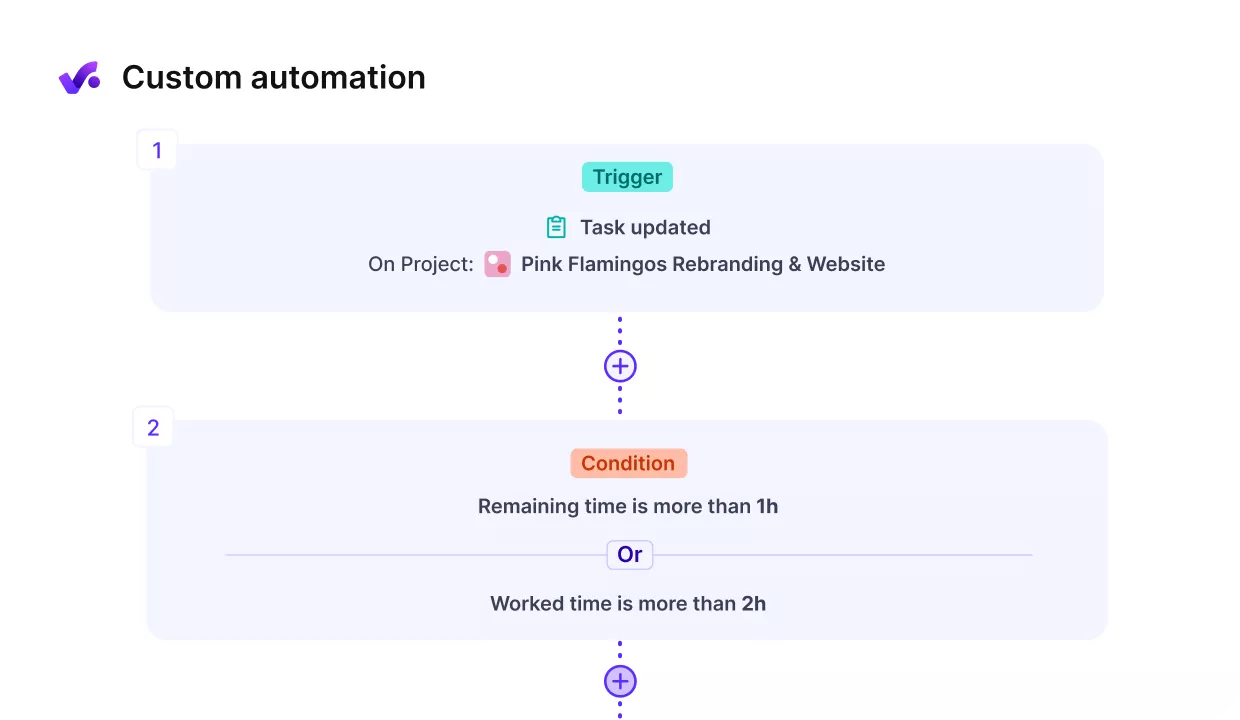
Cut out repetitive admin work with Productive’s automations.
Closure tools solve this by organizing every task, approval, and document in a central system where progress is visible and accountable.
All-in-one project management tools like Productive combine project tasks, budgeting, approvals, and reporting in a single system. This gives teams one place to manage project closing without jumping between apps or updating spreadsheets manually. It also creates a consistent audit trail for sign-offs, lessons, and handovers.
In case you need extra advice and suggestions on toolkits, head over to our review of the best project management software.
Must-have features for closure tools
- Built-in project closure checklist templates or the ability to create your own templates
- Final project report generation
- Centralized document storage with access control
- Automated task reminders and deadlines
- Financial wrap-up: invoice, budget, and time tracking tools
- Role-based permissions for offboarding
- Support for closure templates and lessons learned logs
How To Ensure Client Acceptance and Contractual Closure?
Client acceptance proves that all final deliverables meet the signed criteria and contractual terms. This protects your agency legally, marks the project conclusion, and unlocks invoicing and warranties.
To secure acceptance, follow a clear path: document completion, share deliverables, trigger review, collect sign-off, and store evidence.
If a client refuses to sign, use the acceptance checklist to confirm what’s done, what’s disputed, and who decides next. In most cases, resolving a defect or clarifying the scope helps move forward.
Five-line acceptance checklist
This checklist tracks what was delivered, how it was reviewed, and what’s left:
- Deliverable: Final analytics dashboard
- Evidence: QA checklist and visual walkthrough
- Approver/Date: Client Product Owner – Sept 12
- Exceptions: Bug #248 deferred to warranty
- Invoice status: Final invoice issued, pending payment
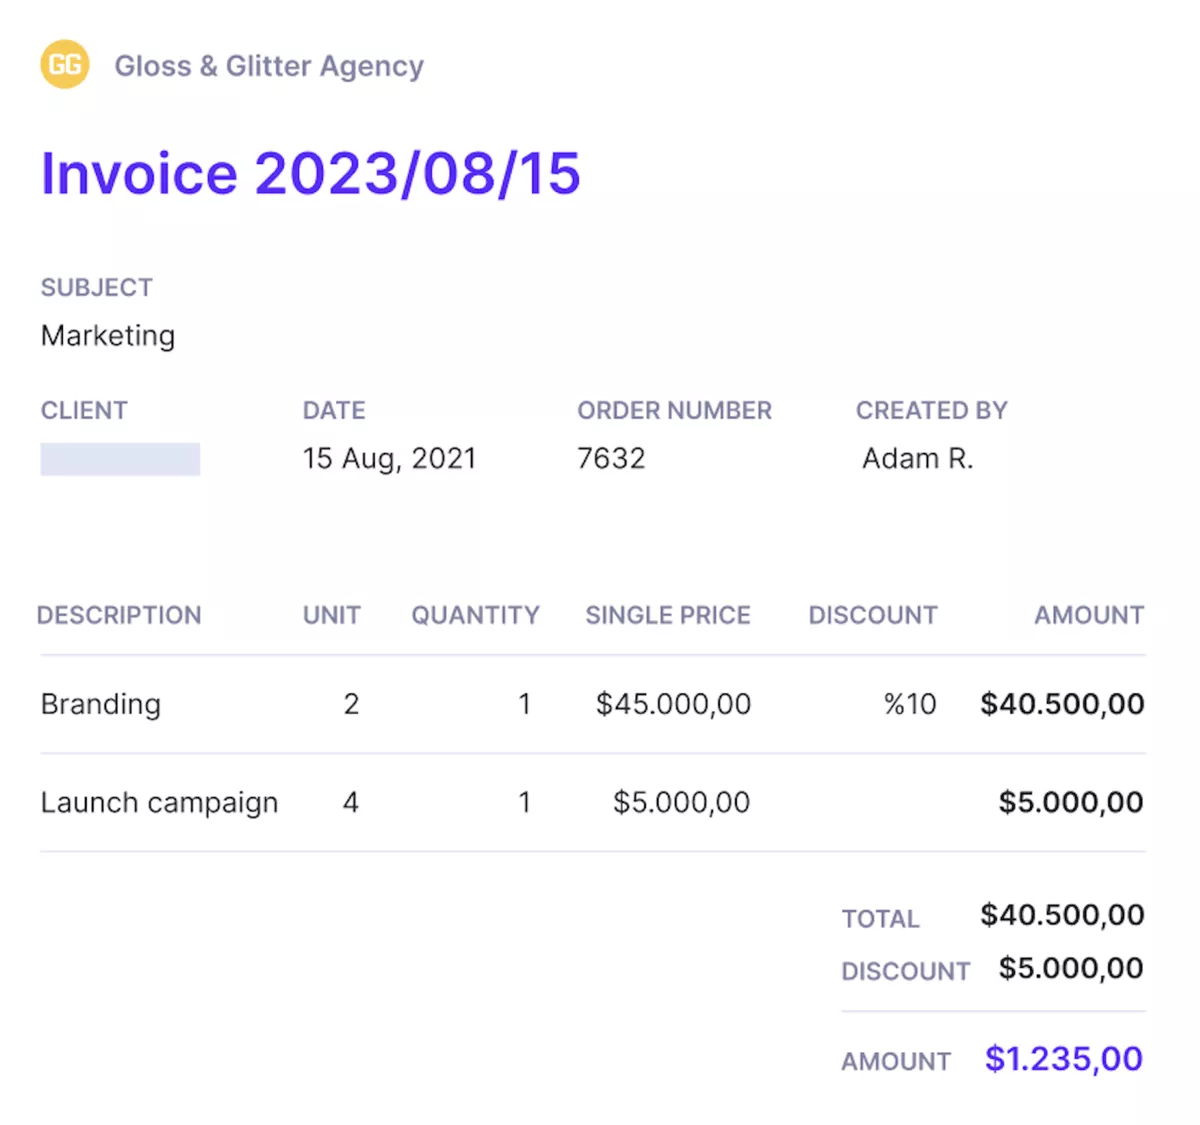
Use Productive to generate invoices for your project services.
Final Thoughts
A structured project closure process protects against missed steps, billing delays, and unclear handoffs. But it only works if your project team has the right system in place.
All-in-one project management tools like Productive combine closure activities such as final tasks, client approvals, invoicing, documentation, and offboarding into one structured workflow.
This helps teams avoid blind spots and meet closure requirements without extra effort.
With checklists, reports, approvals, and access logs all in one place, Productive gives teams full visibility and auditability from start to end.
Book a demo to see how Productive supports a smooth project closure.
Standardize Project Closure Across Teams with Productive
Productive helps you automate handoffs, revoke access, and archive docs. Tie billing to formal acceptance with documented checklists and approval flows – directly inside your project management platform.
