Tips For Painless Time Tracking

Time tracking is hardly the most fun thing to do in the world, but Productive makes it a bit easier—especially for agencies. Since there are many ways to do it, let’s dive in and learn what the best way is to track time for most of the use cases.
Day View
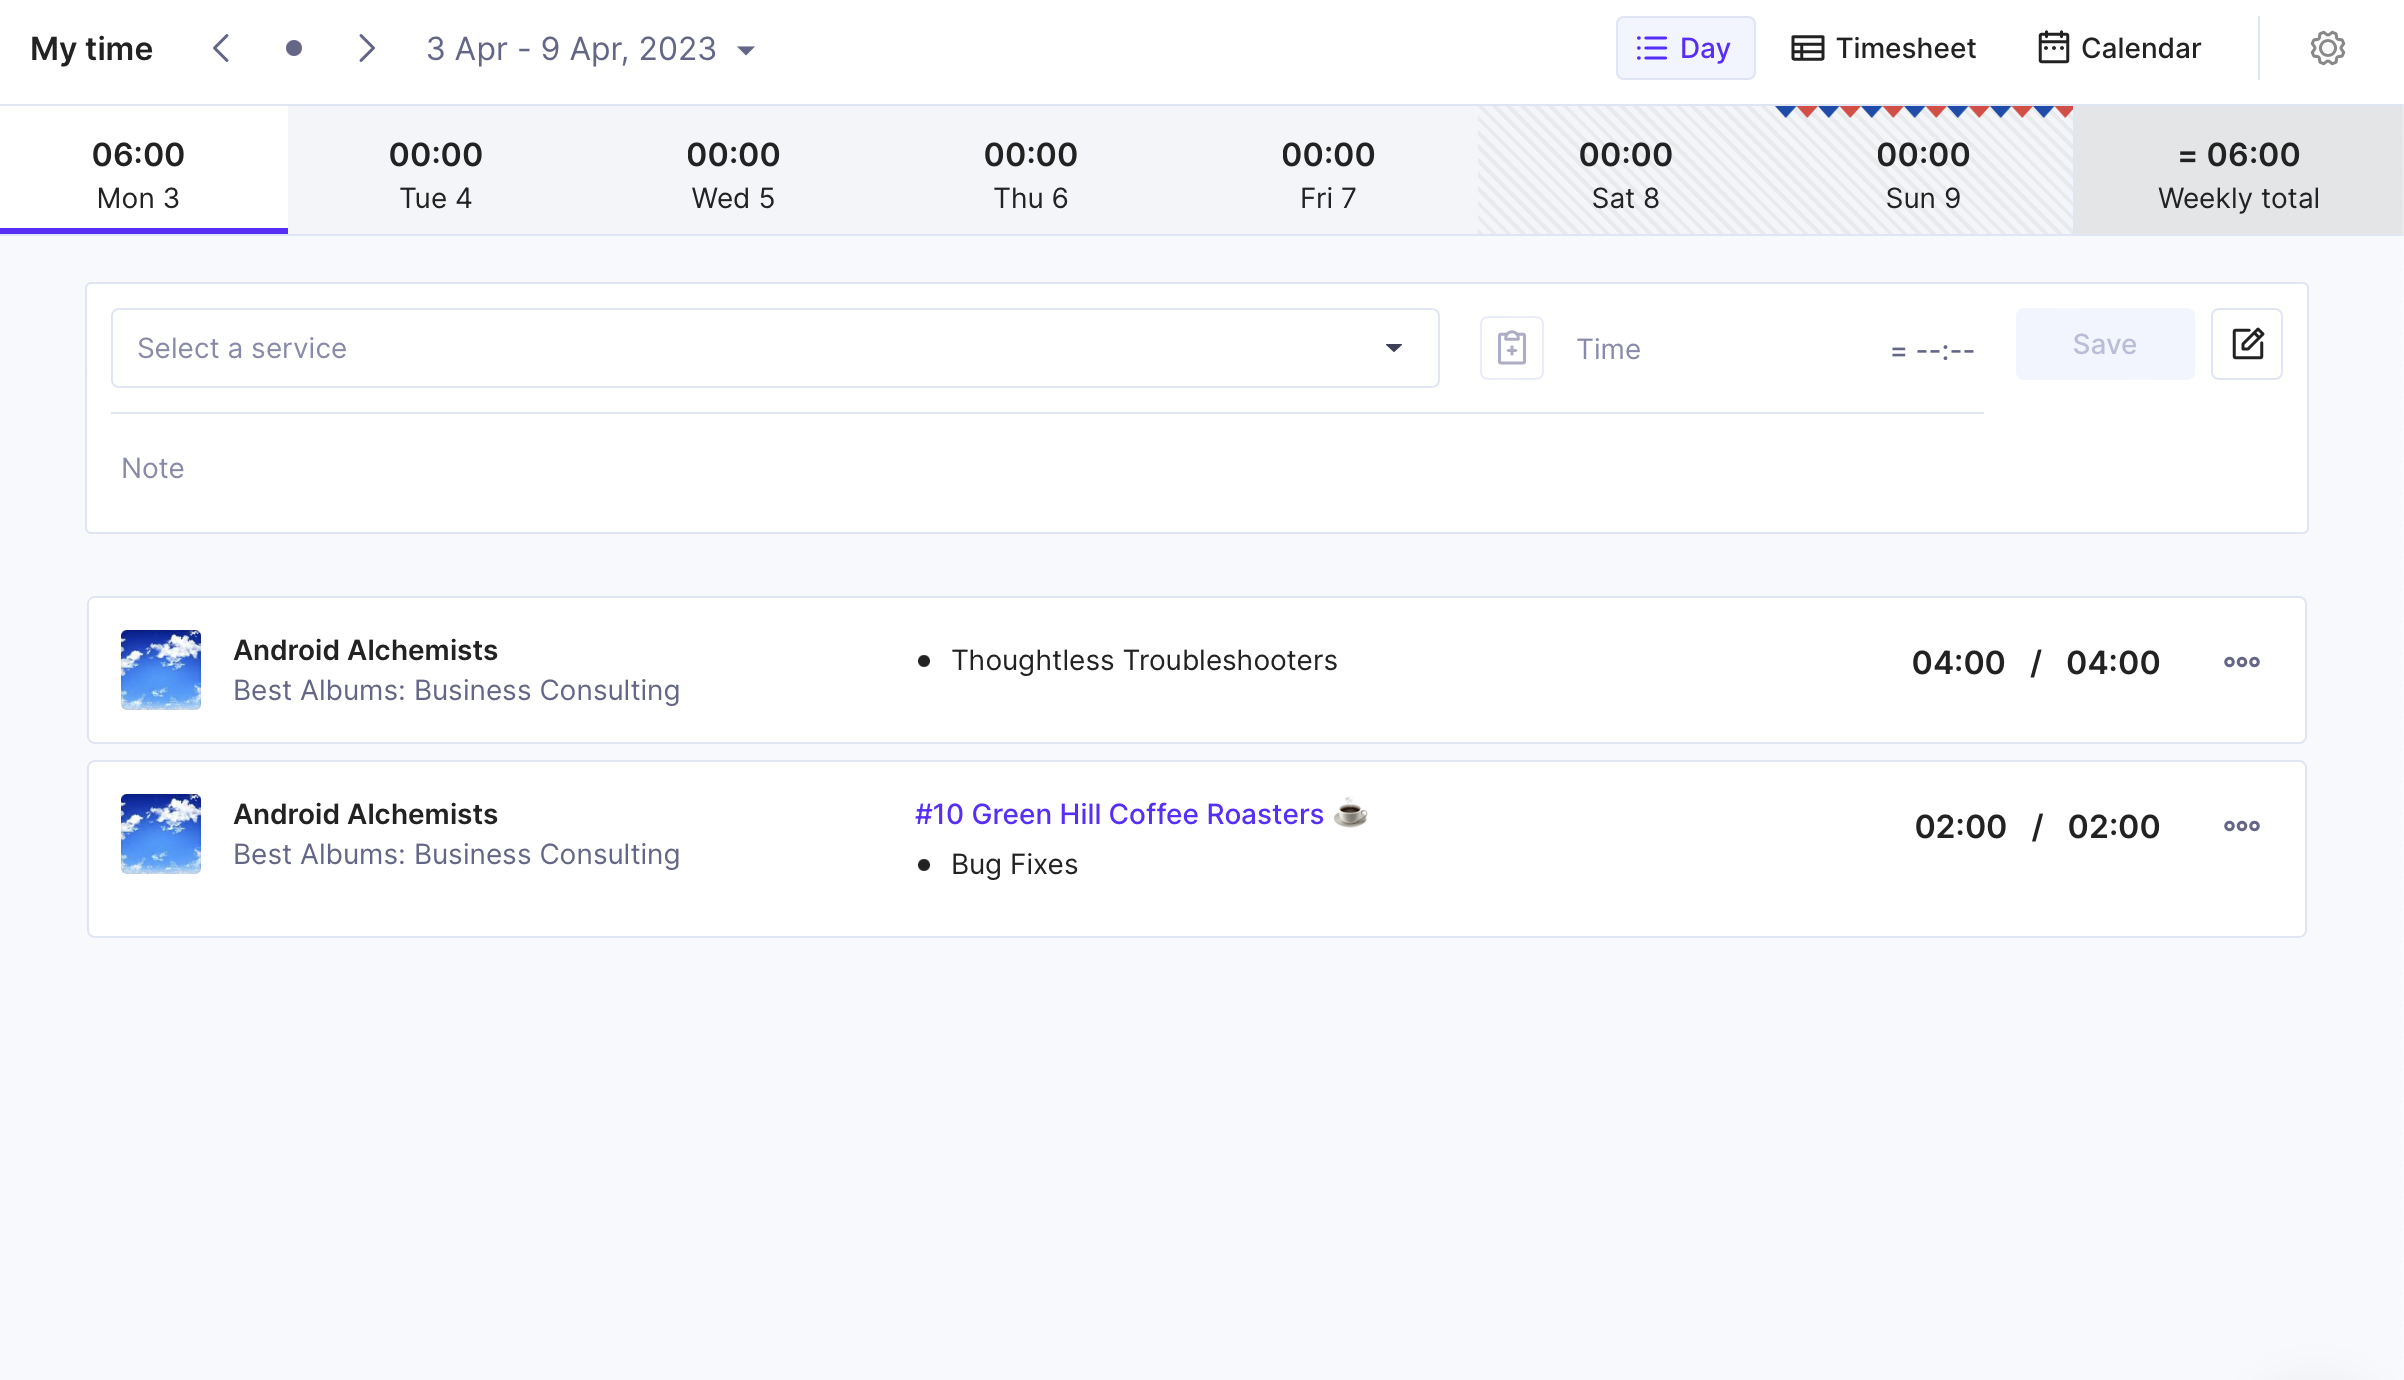
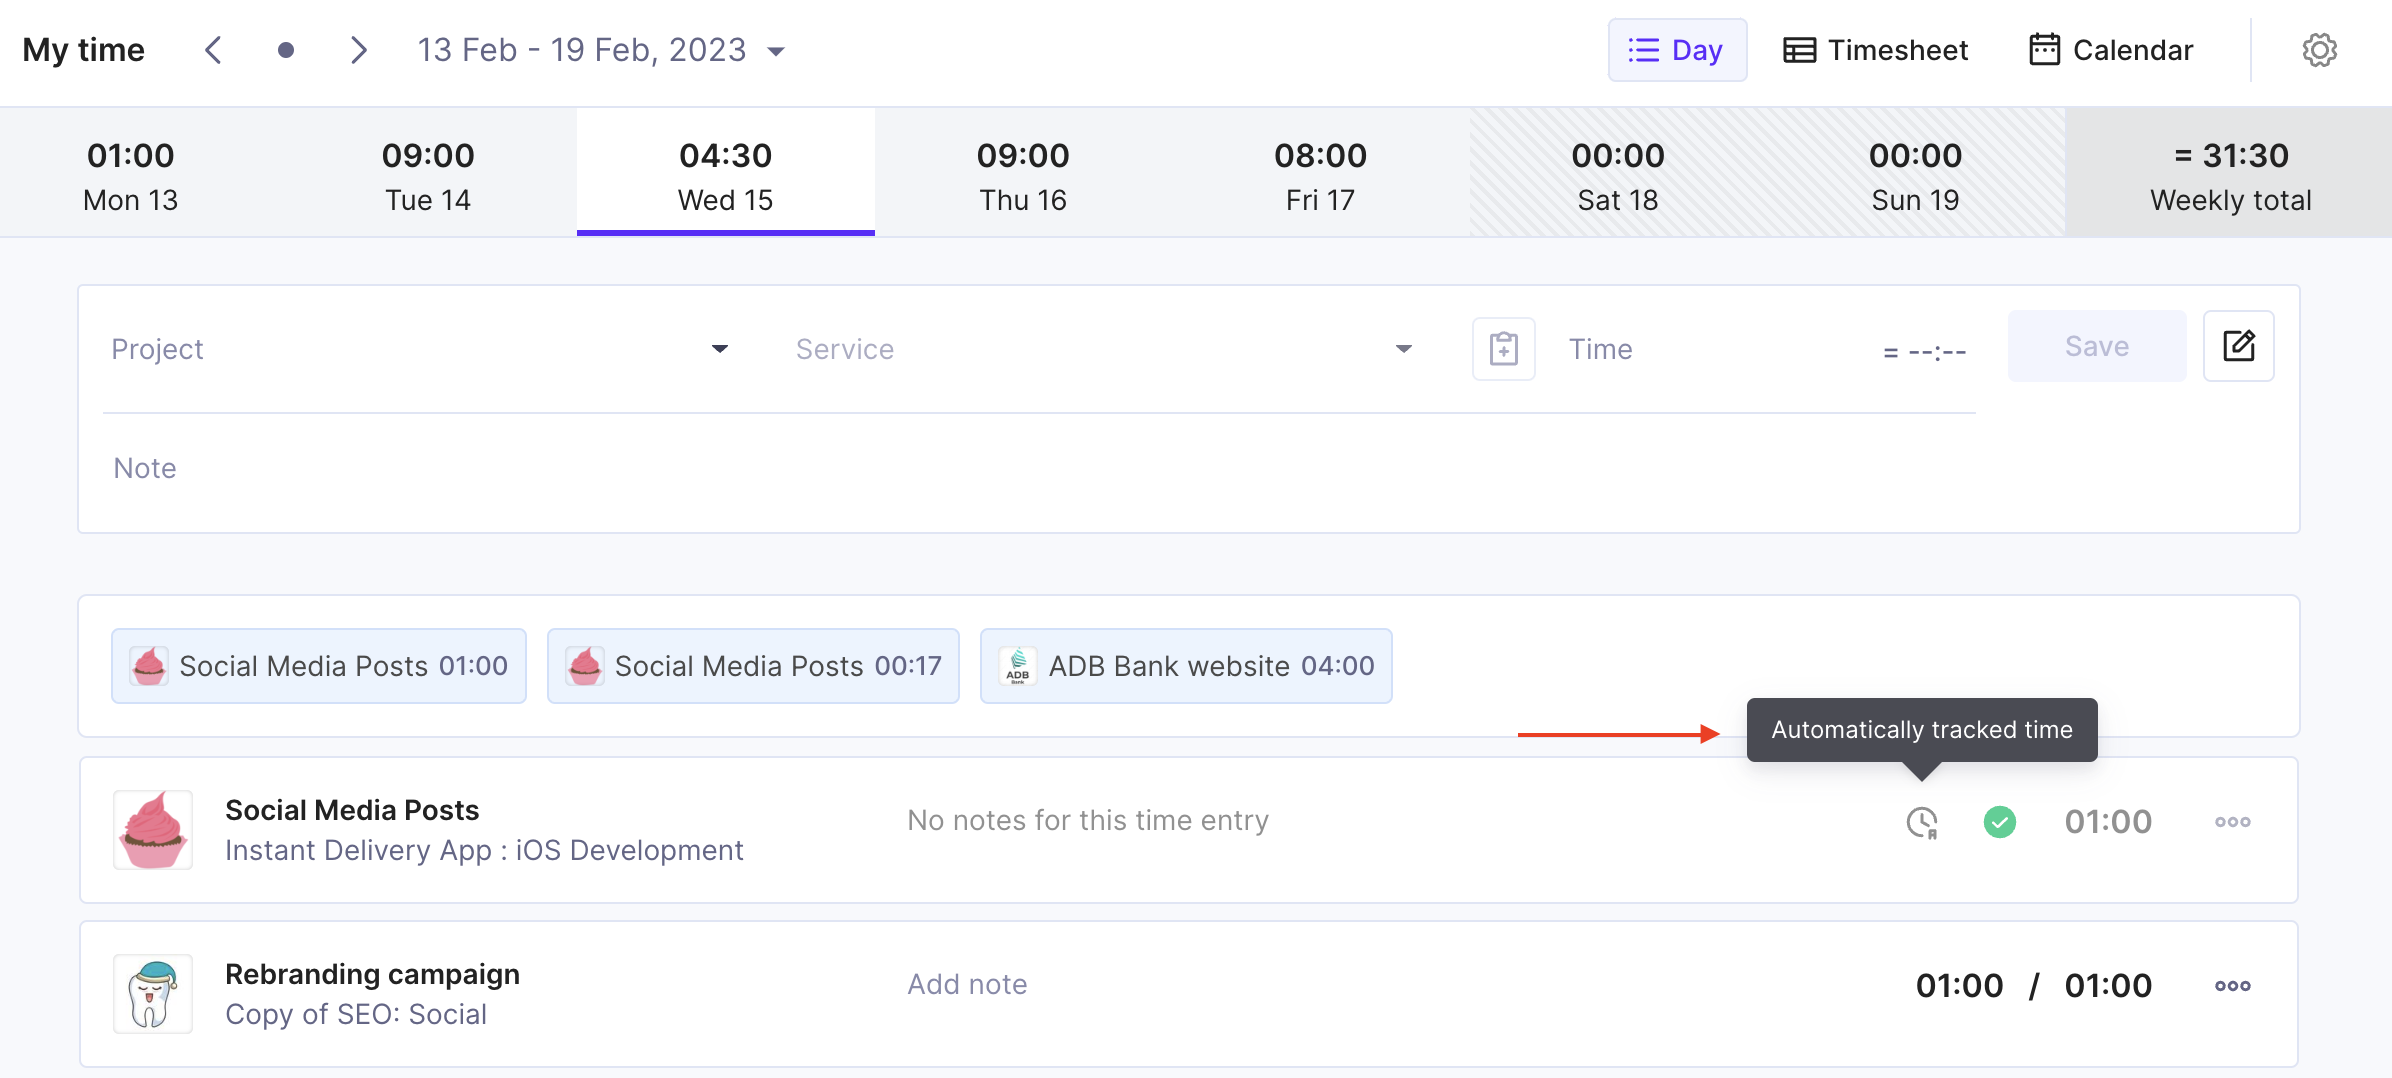
The Day View is the first screen you’ll see when you open Time Tracking in Productive, and is the one our customers use the most. It’s easy too see why too, as it has a clean interface and easy-to-understand layout.
Just select a project you’re assigned to, select a service and start a timer, or you can add time manually—just type in how many hours you’ve spent working on that service.
Simplify Your Time Management
Productive helps you tailor your time tracking to your project needs and team preferences.
Pro Tip: Are There Any Shortcuts?
- Try using Scheduling Suggestions, which will track time from a booking in Scheduling:
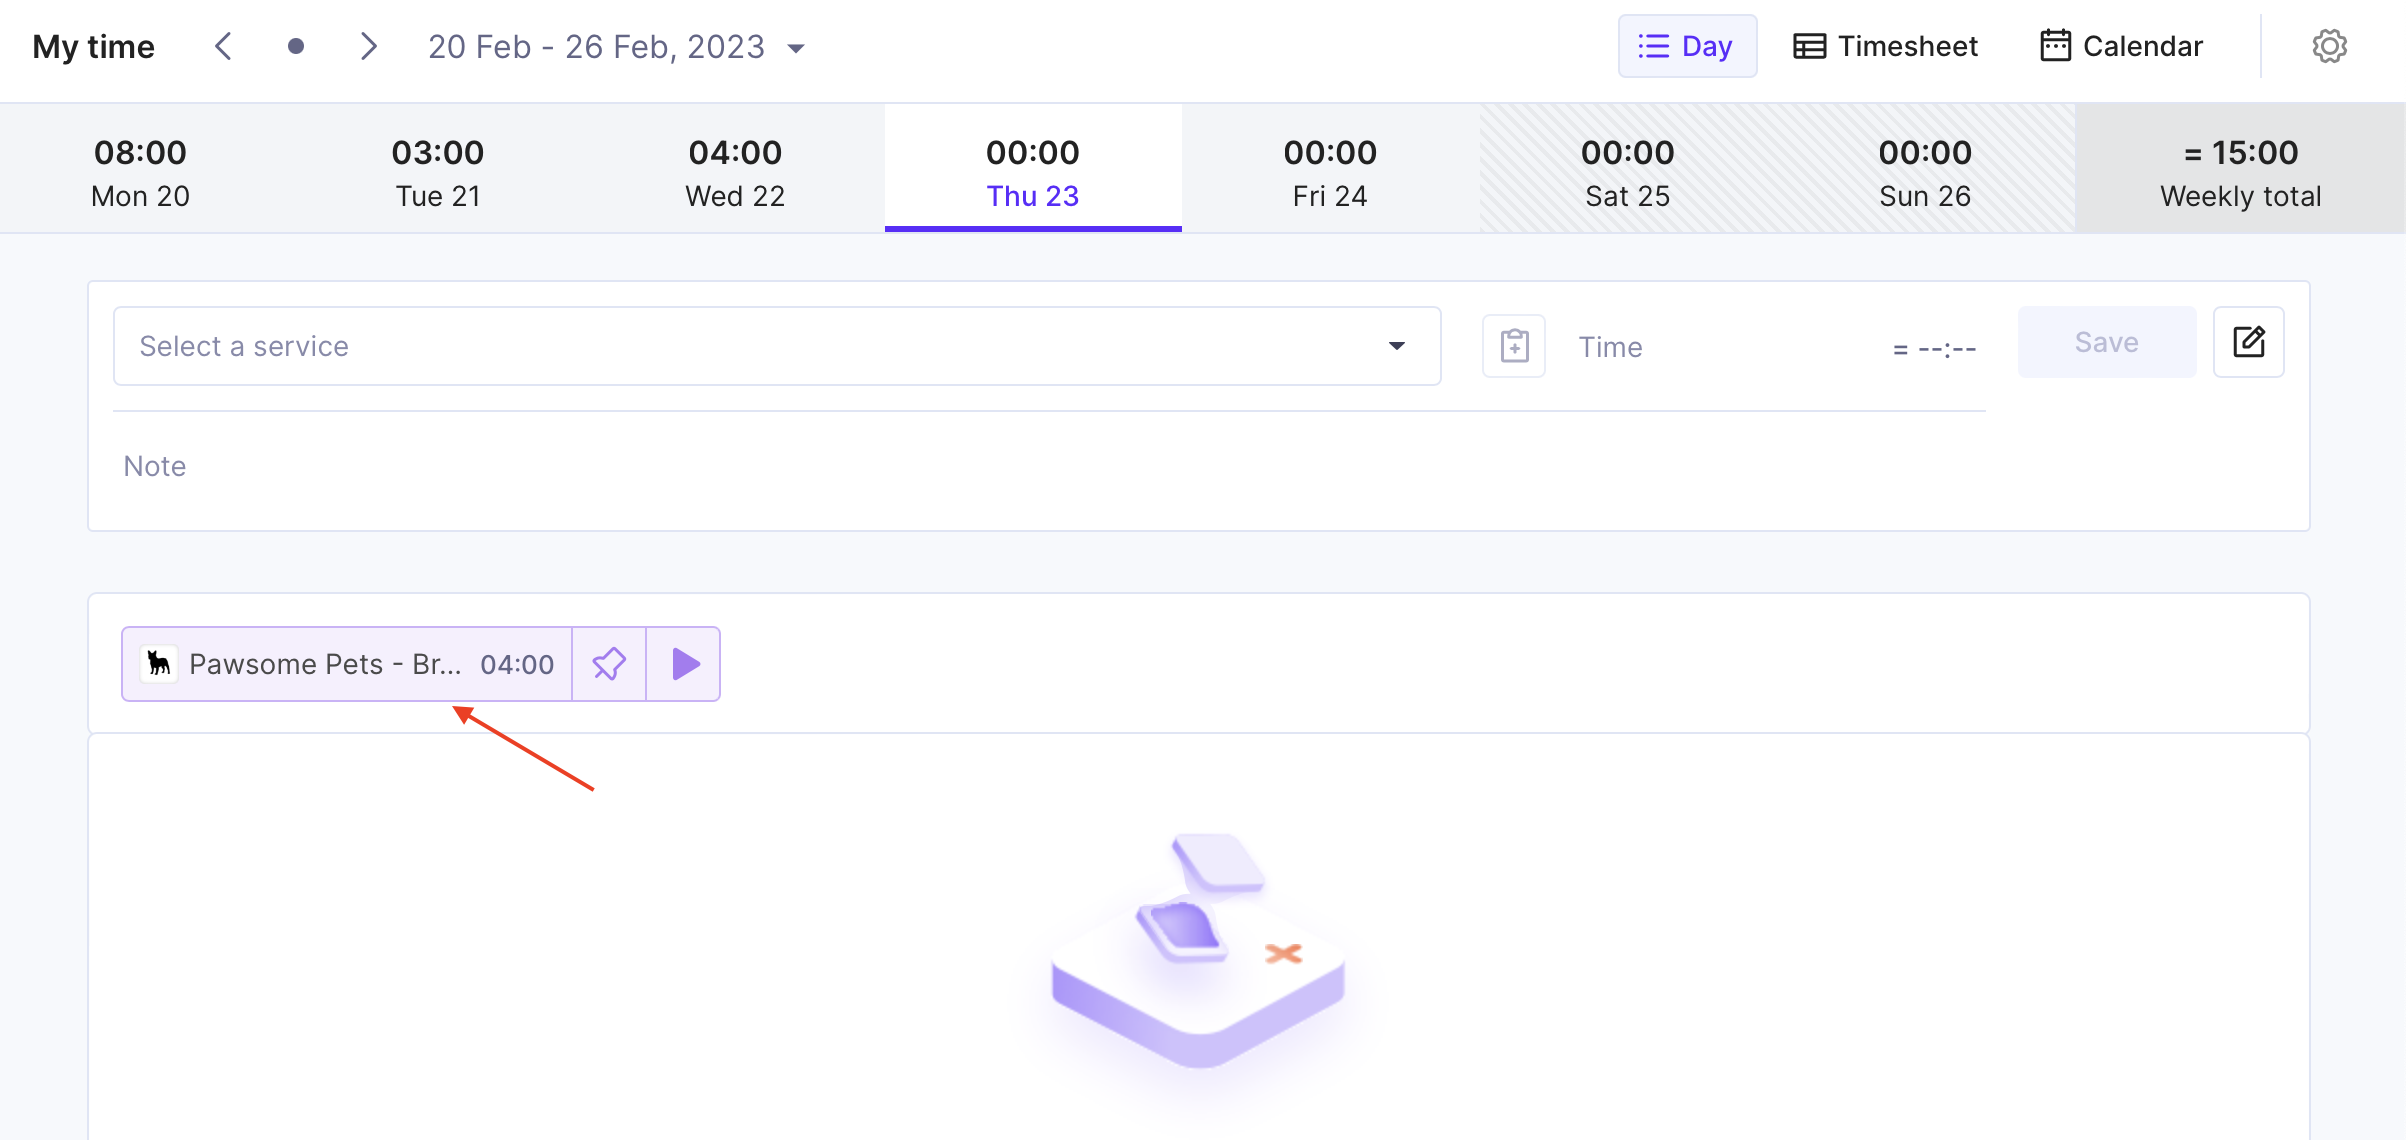
- Duplicate Time Entries — Choose time entries from yesterday…
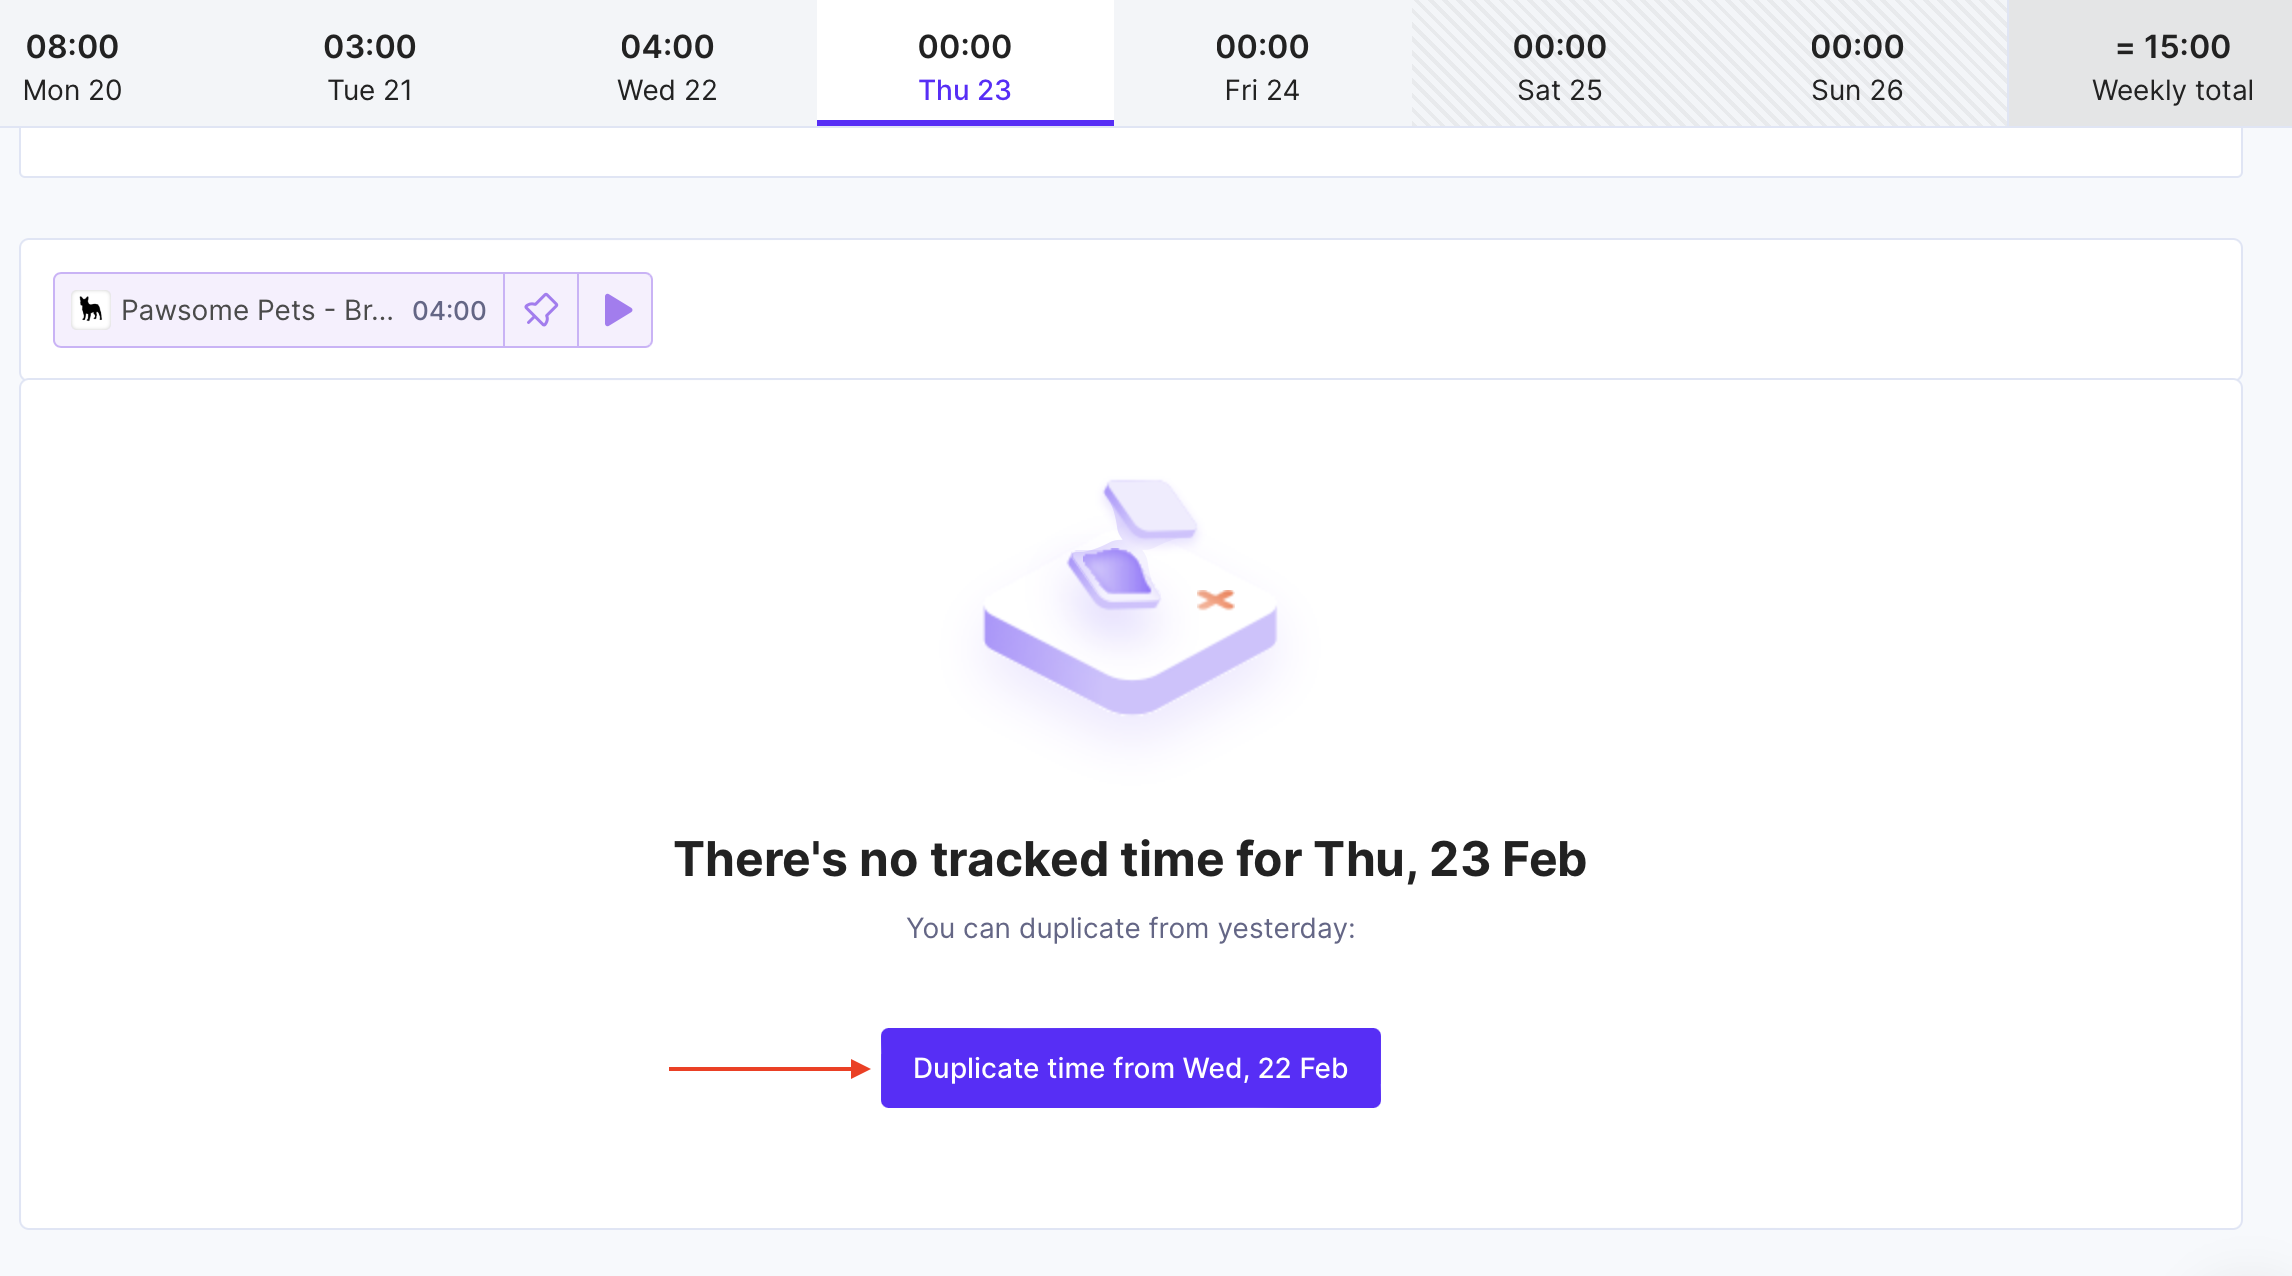
… or a single time entry:
Week View (Timesheet)
If you’re juggling multiple projects every day, then using the Week View is your best bet. You can create a table that contains all the projects you’re working on and Productive will suggest which ones you should track time against.
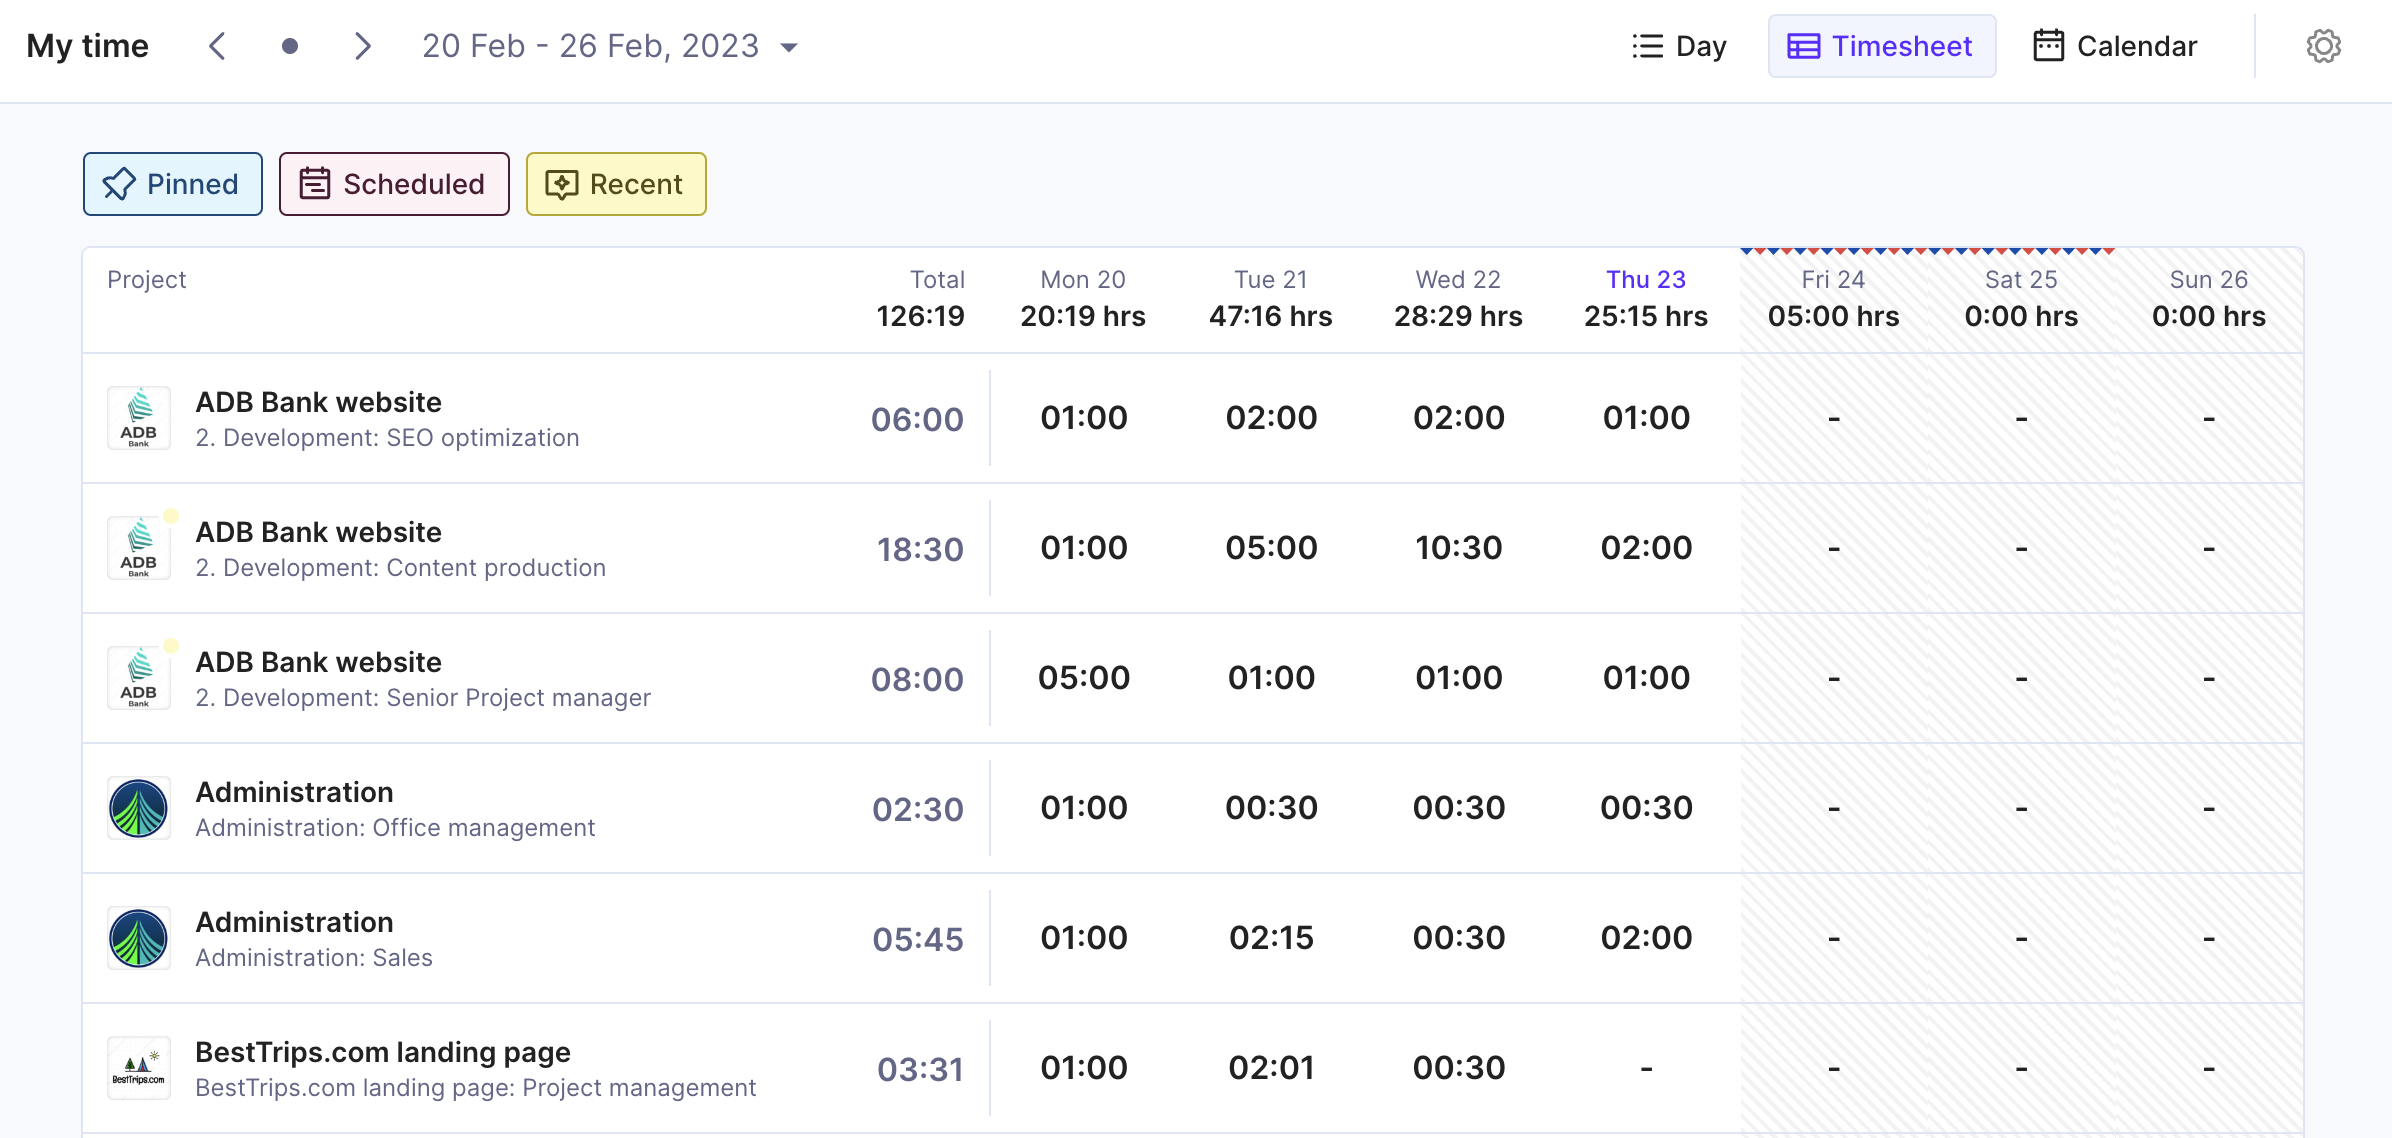
After you’ve added your preferred projects and services, just add the number of hours you’ve spent working on them or start the timer.

Calendar View
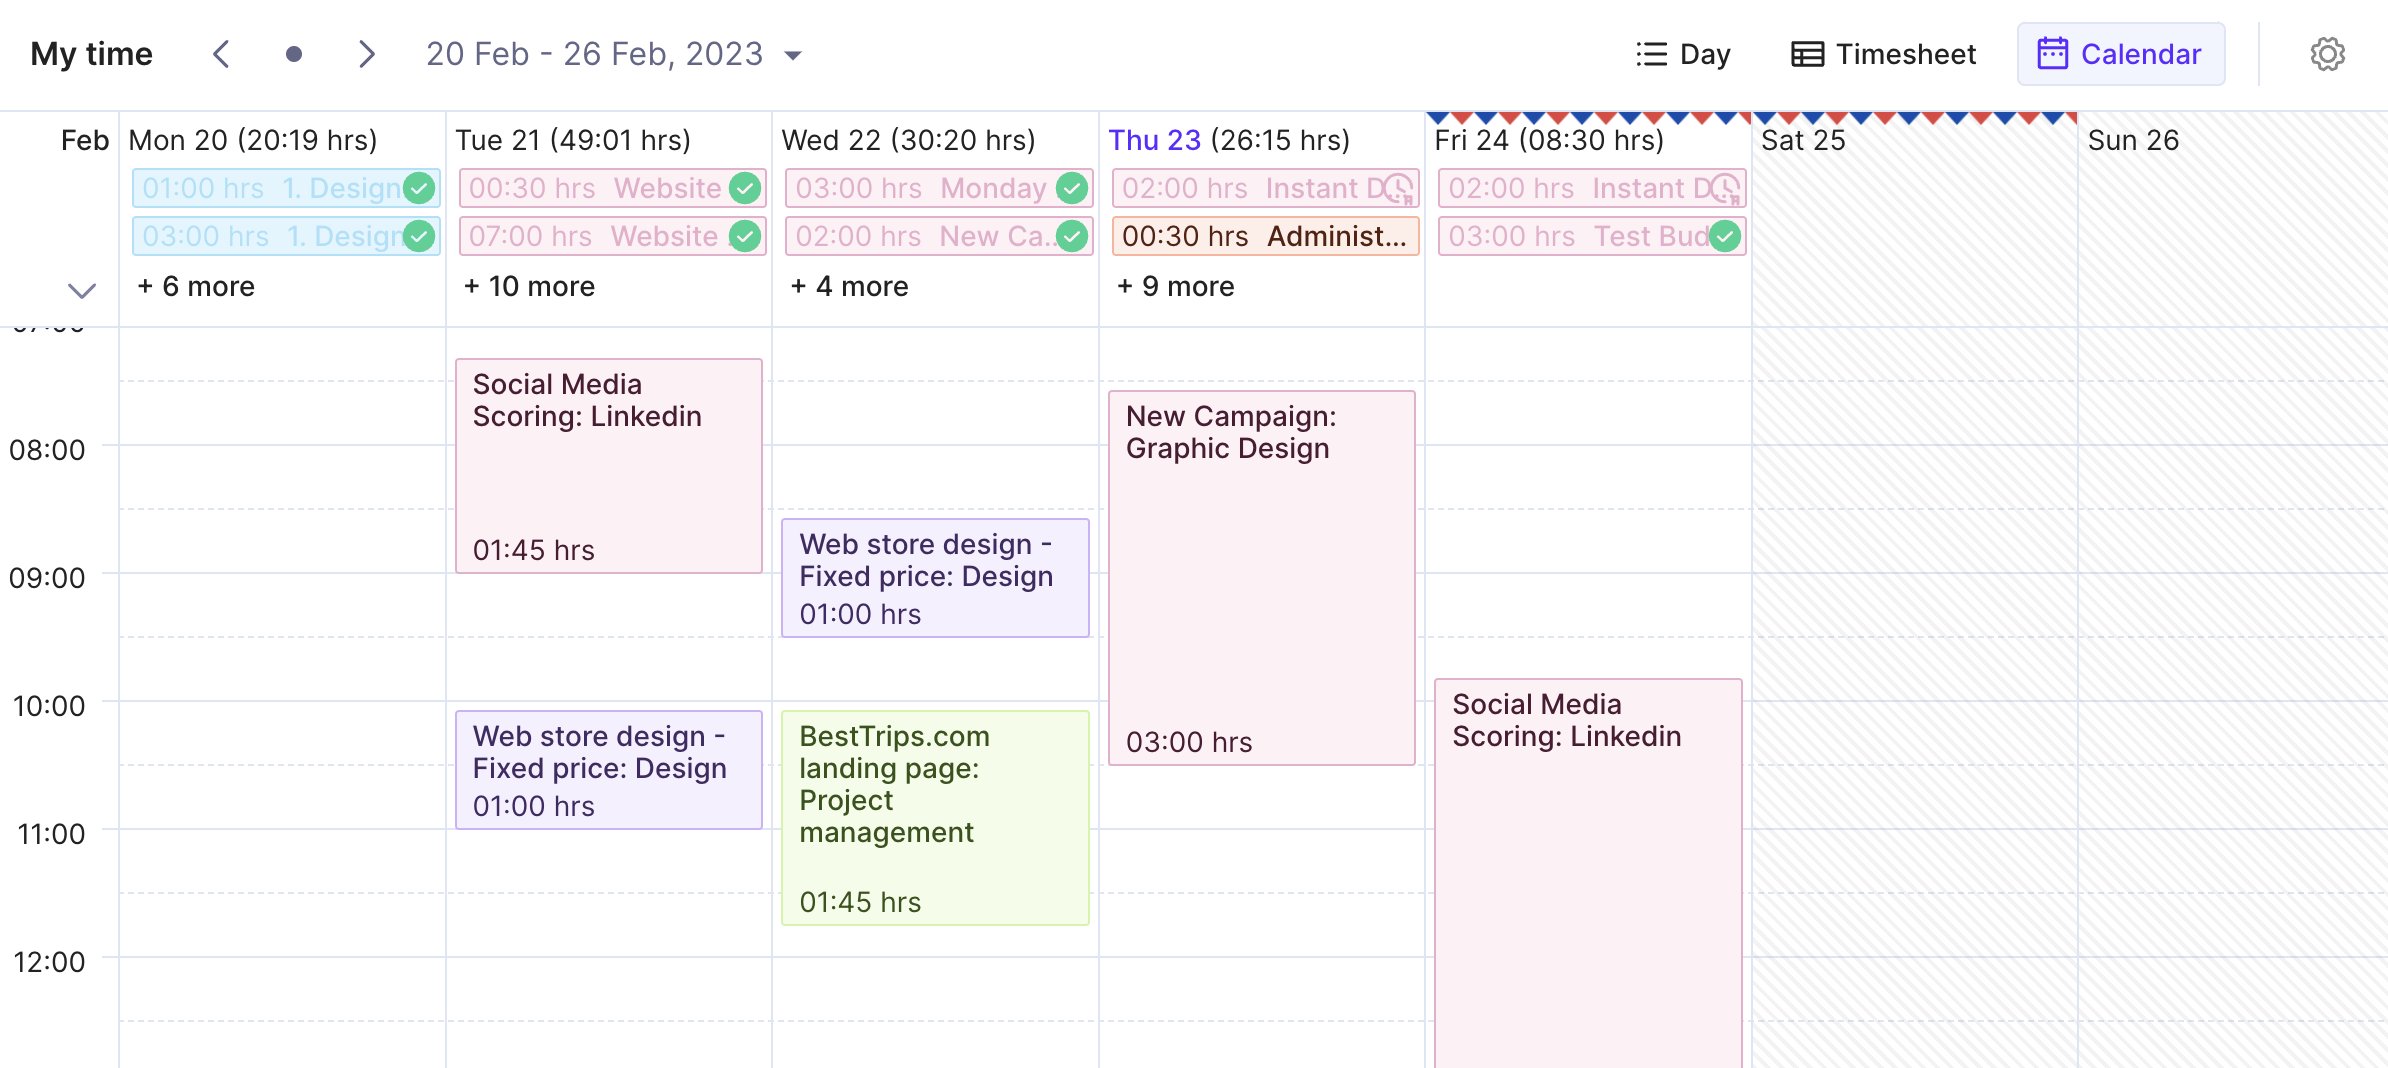
Is your day filled with meetings and events? Then our Calendar View is the easiest way to track time. Just connect your Productive account to your Google or Microsoft calendar and track time against events booked in those calendars. Of course, you can manually add events as well.
Should You Use a Timer or Track Time Manually?
That depends on your line of work. Some people, like developers and designers, prefer to use the Timer, while others prefer to add time retroactively.
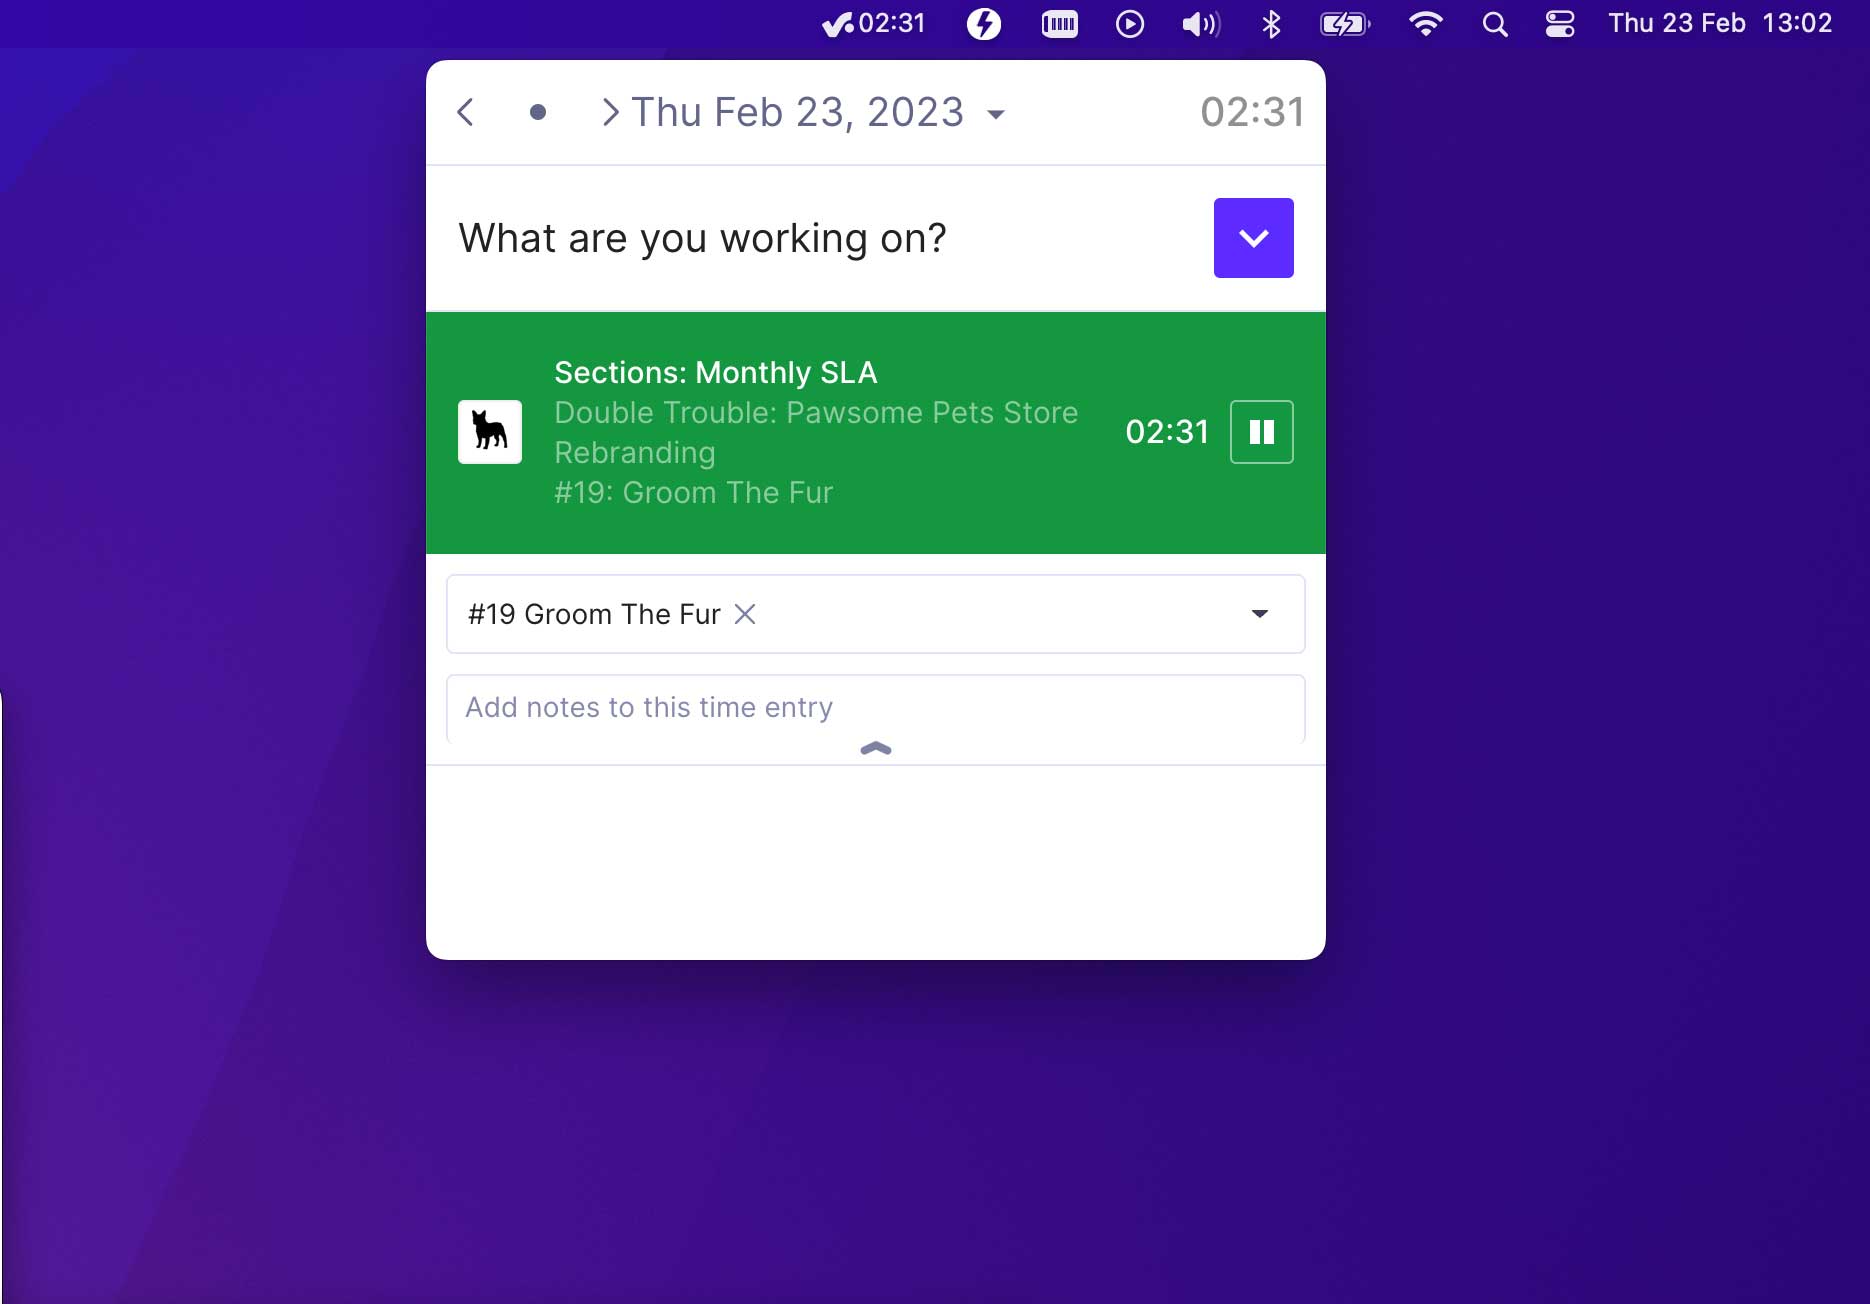
You can also try our Desktop app which puts the timer right in your toolbar for easier access.
Automatic Time Tracking
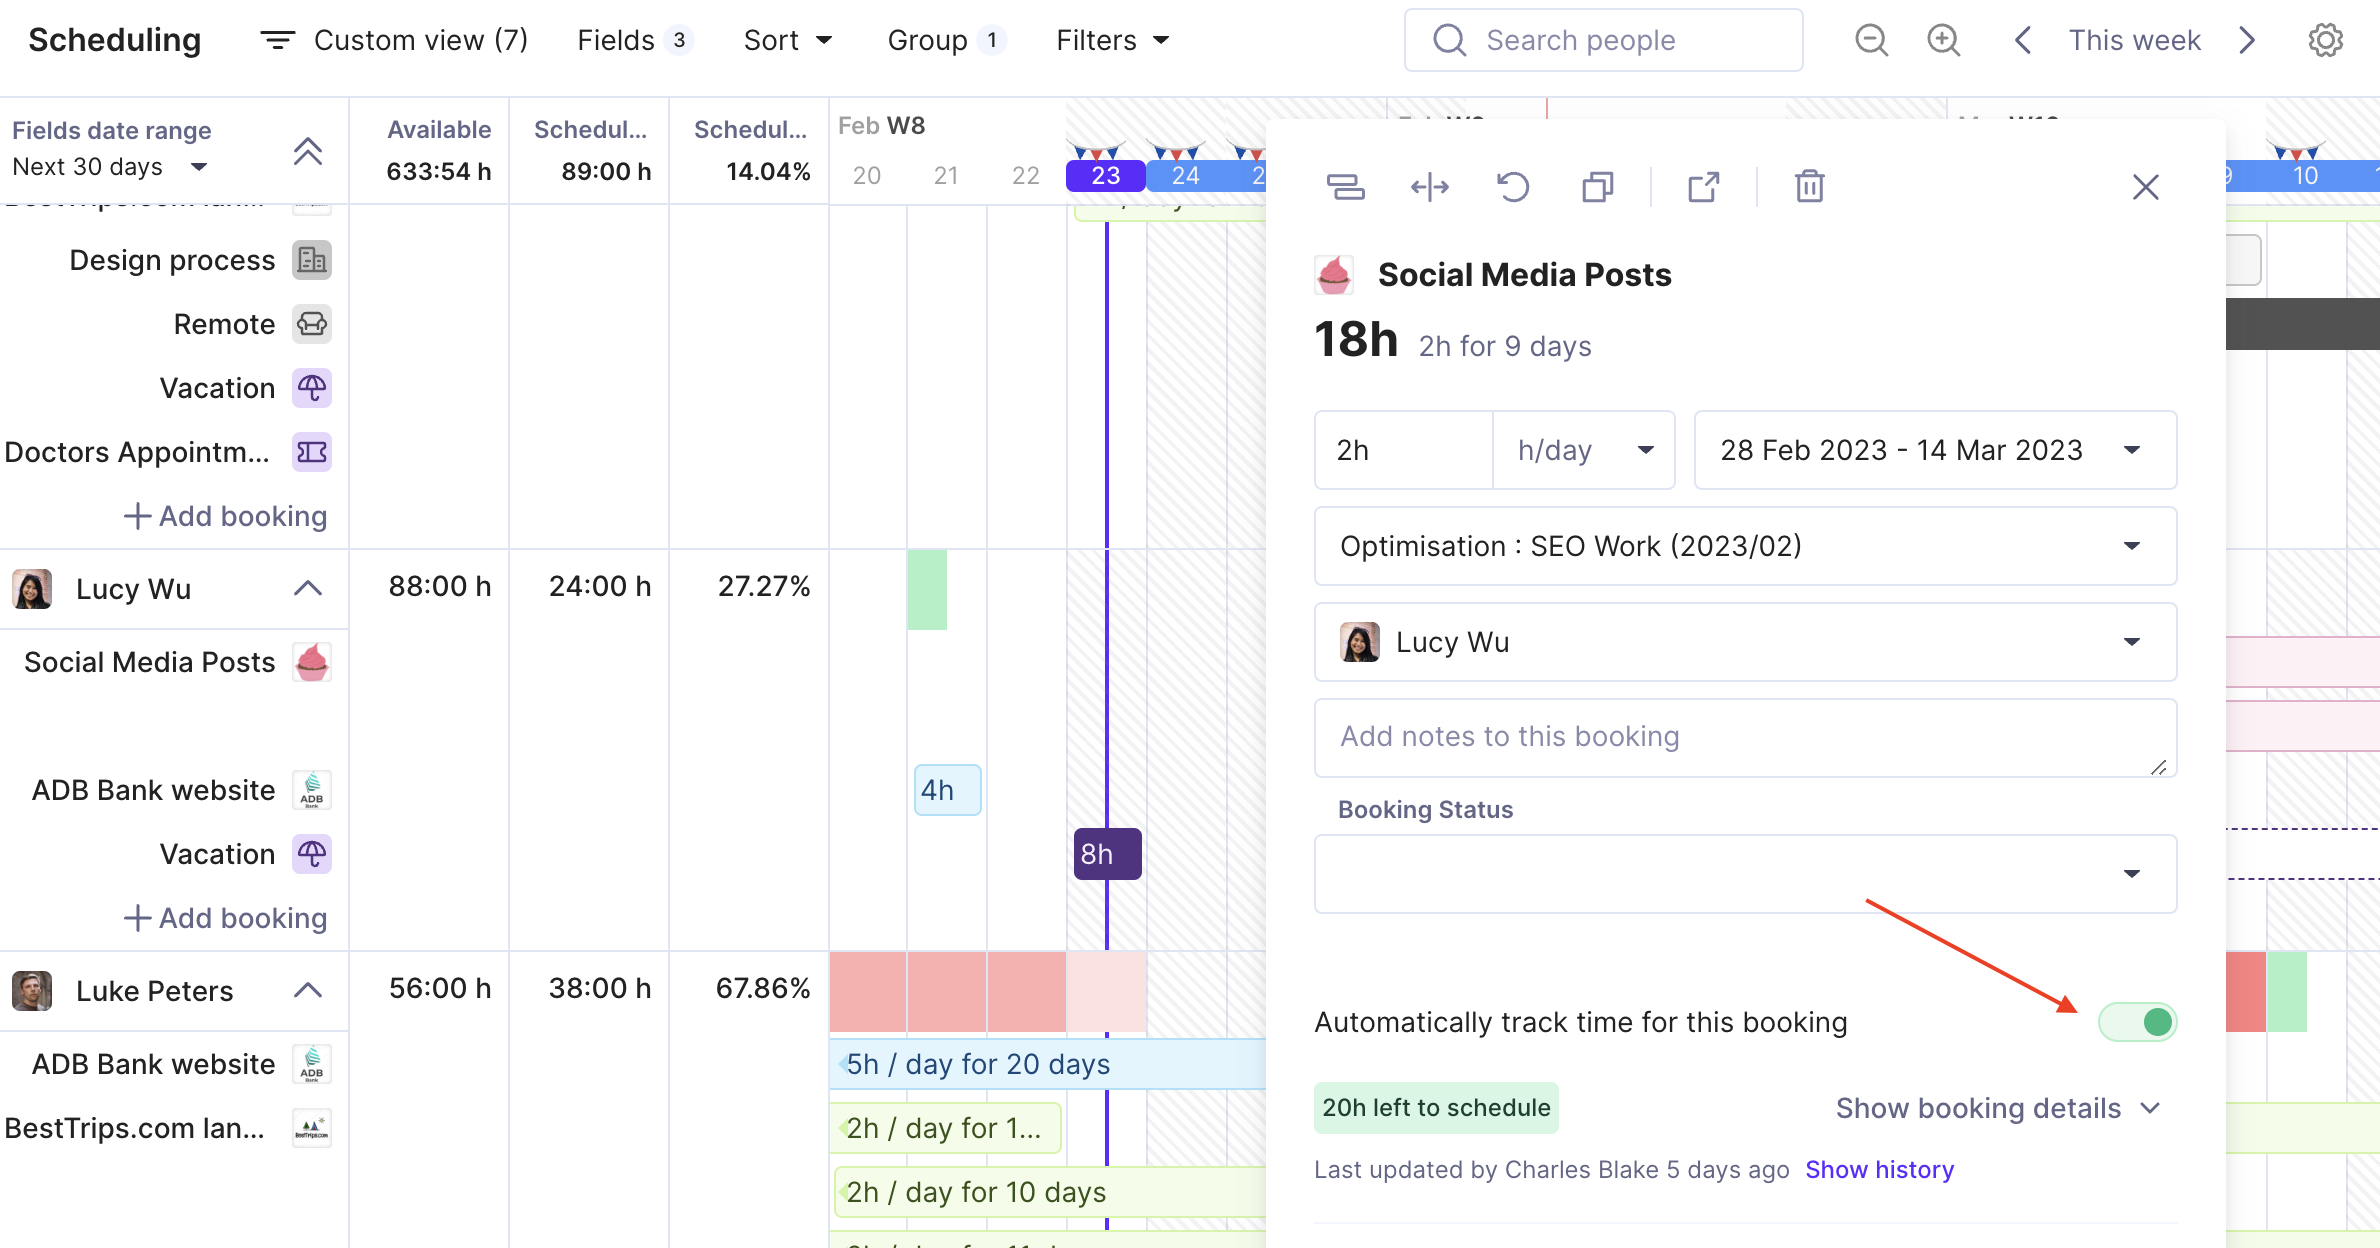
If you already have a fixed amount of time to spend on certain projects, try using Automatic Time Tracking in Productive. It works in conjunction with Scheduling, meaning that what has been added to Scheduling will become worked time.
See also: 13 Best Agency Time Tracking Software
For example, if you’ve booked 4 hours each day for a month against one service, that will translate to 4 hours of worked time—without you doing anything else.
It’s perfect for:
- People with non-billable roles (e.g. a CEO, or an Office Manager)
- Projects you know you have to work on every day for a fixed period of hours
- Adding time retroactively, in large amounts (e.g. when you switch to Productive from a different system)
Got questions about this article, or are you looking for a specific use case? Feel free to reach out to us via the in-app chat or via email.
Simplify Your Time Management
Productive helps you tailor your time tracking to your project needs and team preferences.
